I am very excited for today’s project! I have been loving these crochet edged plates that Penny from Knot Forgotten Studio has been crocheting so much (gorgeous, right?!) that I asked if she would come here today to share with us how to make these. And guess what … she said “yes”! Yay!
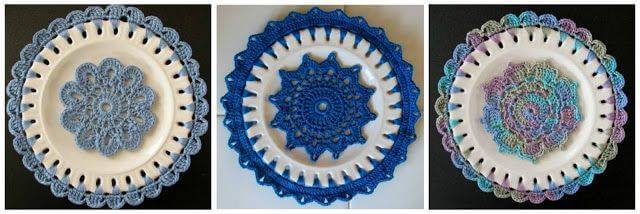
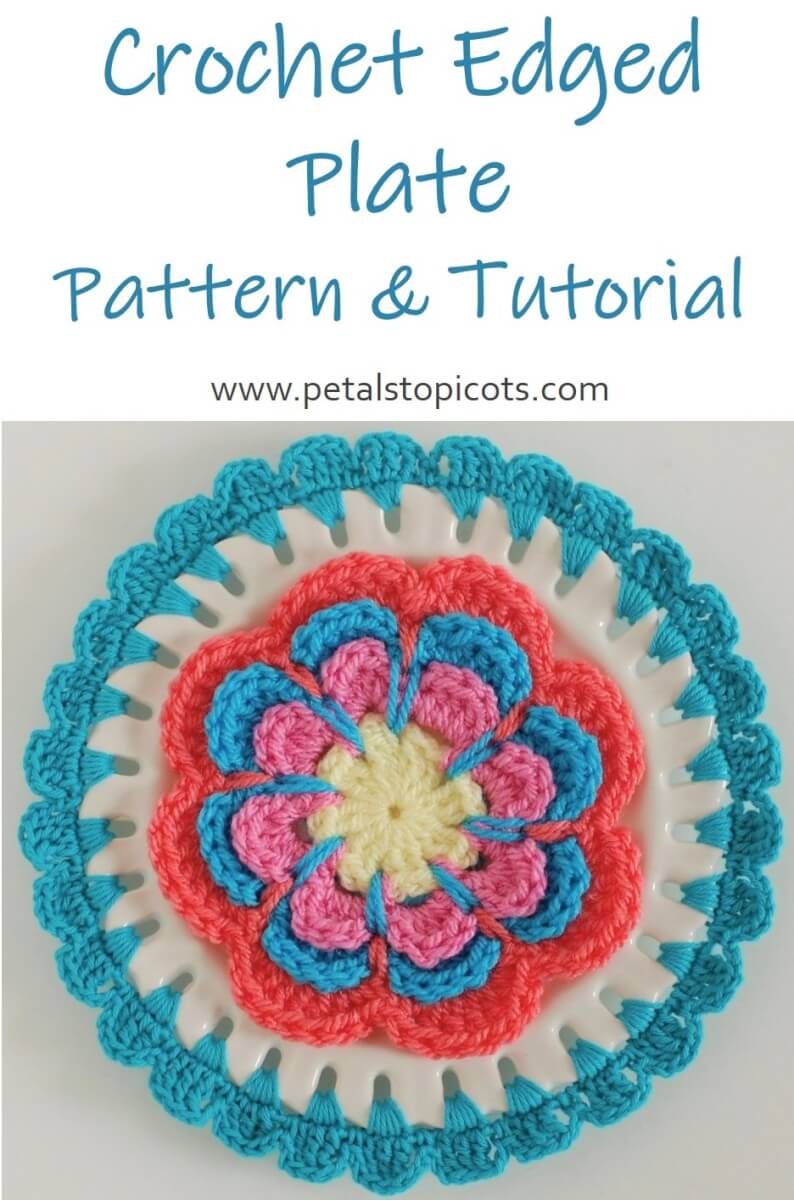
I could not wait to get started and ordered a few plates from Hobby Lobby to give it a try. I hope you love this project as much as I do! Be sure to scroll to the bottom of the post to see how mine came out.
Take it away, Penny!
crochet edged plates
Hi Everyone,
My name is Penny and it is so nice to be here at Petals to Picots today. Thank you, Kara for inviting me over to do this post on your lovely blog. I’ve not done this before so …nobody laugh!! 🙂 A little about me and then let’s crochet. My husband and I live in the Colorado Rockies. He is retired from the Air Force and I am a retired Home Health Care Provider. Since retiring we’ve been able to do a lot of traveling, crafting and fishing and … well, anything we want to do really. YAY!
I have been crocheting for almost 30 years now. I’m really not that old (I started very young) 🙂 I taught myself to thread crochet by subscribing to the Magic Crochet Magazine (which is now out of print) back in the ‘80’s. My great-grandmother crocheted. She made such beautiful heirloom doilies. They were passed down to me and my other family members after she passed away. I admired her work so much I thought to honor her I would attempt to mirror her craft. So thread crochet is in my heart and in my blood I think. I really do prefer working with thread over yarn but I do use both to craft with.
Today we are going to add a crochet edge to a plate. I found 4 decorative plates at my local thrift store. They were marked .49 cents each (SCORE!!) 🙂 I bought them knowing that I would come up with some way to make them pretty.
So let’s make one today. I call this one the 10 Petal Plate. It is really easy to crochet. It’s a simple motif that has a very easy trim pattern around the edge. Let me just say that any motif you want to use would work perfectly fine as long as it’s not over 4 inches. The one we will do today is 3.5 inches. Coaster patterns would work well, and there are a lot of them to choose from.
For this crochet edged plate I used Aunt Lydia’s Size 3 Thread in Warm Blue. I used a size 4 hook.
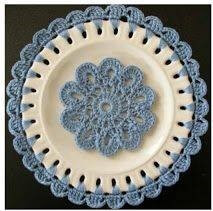
10 Petal Plate Motif
Begin at center, ch 8 and join to form ring.
Rnd. 1: In ring work 20 dc; first dc = 3 ch throughout, close dc rounds with a slip stitch in top of ch-3.
Rnd. 2: 3 ch (first dc), 1 dc between next 2 dc, work (2 ch, 2 dc inserting hook between each 2 dc below) 9 times, end with 2 ch, close with slip stitch in top of ch-3, continue with 1 slip stitch in each of the next 2 stitches.
Rnd 3: Work one shell (=2 dc + 5 ch + 2 dc) in each chain loop around. Rnd 4: Ch 1 work * 1 sc between 2 shell, 10 dc in next ch-5 loop, repeat from * around; close with slip stitch in first sc.
Fasten off and weave in the end.
Now the plate. It really is easy. At first it may seem awkward to get the plate into the right position to crochet it. My best advice is to move the plate as you work. Does that make sense? Well, anyway you’ll get the hang of it once you start and will be able to make a bunch of crochet edged plates in no time! There are only 2 rounds on this trim. I think it works well. Ok, here we go.
10 Petal Plate Trim
Attach your thread to your hook.
Rnd 1: Insert your hook into one of the holes of the plate. Bring up a loop and yarn over and pull through both loops on the hook.
That’s the first sc. Make 2 more sc into the same hole for a total of 3 sc per hole. Now ch 3. So all the way around the plate you are making 3 sc into the hole and ch 3. After the last ch 3 join with a slip stitch into the first sc.
Rnd 2: Ch 4 (counts as first triple crochet) triple crochet into the next 2 sc (for a total of 3 triple crochets). Ch 2 and sc into chain 3 below, ch 2. Repeat all the way around (3 triples, ch2, sc, ch 2).
After you’ve gone around the plate, join the last chain into the top of the ch 4 with a slip stitch and fasten off. Weave in the end. That’s it. Really simple.
You can attach the motif to the plate with some double stick tape, hot glue or some craft glue. To hang the plate I use this plate hanger. You can find them in the hardware section at Walmart for $1.97.
I have several more ideas for these plates. You probably will too. I think the creative possibilities are endless. Have fun with this and I invite you to stop by my Facebook Page to show me what you have created.
Thank you again Kara for inviting me to guest blog here at Petals to Picots. I really had fun with this. Take care everyone, penny x
© Copyright 2013 by Knot Forgotten Studios
The pattern and images cannot be reproduced in any form or by any electronic or mechanical means without expressed permission from Knot Forgotten Studios.
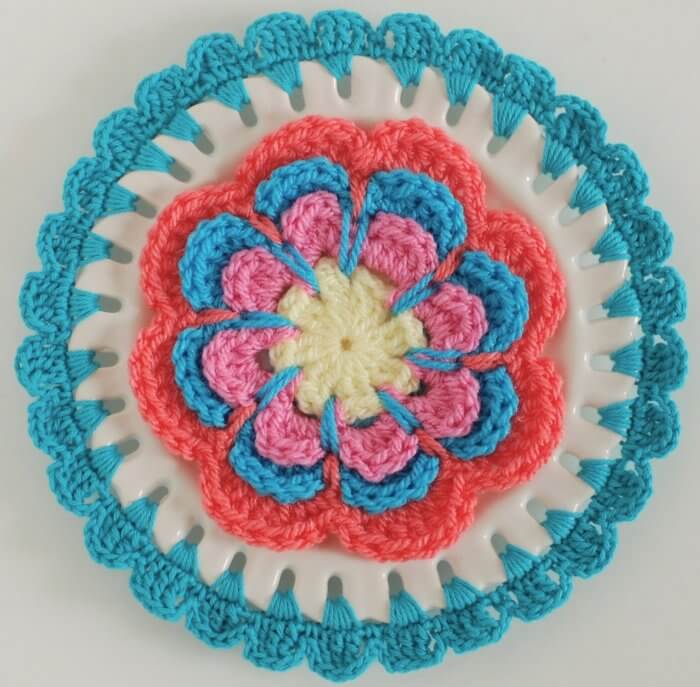
Thank you so much, Penny!! As I mentioned above, I followed Penny’s pattern for the border using Lion Brand Bonbon yarn and a 2.5 mm hook. I also used some of my leftover yarn scraps and a G / 4 mm hook for the flower in the center and followed the pattern I found here.
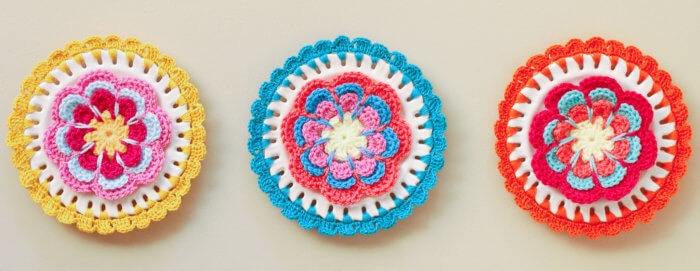
Want a closer look at my crochet edged plates? I think this first one is my favorite!
you may Also enjoy …
- Crochet Patterns for Your Kitchen
- Crochet Afghan Patterns
- Crochet Borders & Edgings
- Crochet Dishcloth Patterns


I can’t find the plates anywhere..do you have a link to where I can order them? I love these..please help me find some of these plates…
Thank you,
Debbie
Heres an idea, if you want to go a cheap route and punch holes in a styrofoam plate and do the same crochet stitches through that kind of plate it would be pretty also. I crocheted some amigurumi desserts (slices of pie and cake and donuts and cookies) I thought it would be cute to display them on styrofoam plates and or give them away for gifts. Just an idea.
This is such a lovely project!
Thanks so much, Melanie 🙂
I just found these, they are absolutely gorgeous. I have been crocheting for quite a few years and was taught by 2 older ladies at a job I had back in the 80’s. I continued to teach myself. My babysitter crocheted when I was very young and I wanted to learn so bad, but she passed away before she could teach me, so my mother taught me how to hand embroider.
Also love your crochet edgings for baby blankets, that is what I was looking for.
Again, thanks to both you and Penny.
Thank you so much for this pattern! I made it up & plan to make several more for friend’s birthdays or Christmas. I know they will love it, too! Just lovely!
That is awesome, Mearla, and makes me so happy to hear 🙂
OMG these are gorgeous and I never knew you could purchase plates like these…I’m off to the facebook page to learn more! Thanks for sharing! Happy Wed!
49 cents? Wowiee!!
I’m in awe of anyone who can crochet, since I don’t know how, these plates are so pretty and sweet! 🙂 Michelle
OhMyCrochet!!!! These are absolutely fantastic! Thank you so much Penny and Kara for sharing- I may have found a new obsession! I so relate to your comments about honoring your great-granmother Penny… my love for thread crochet comes straight from my grandmother, even though she died before I was born. How awesome it is to meet another one working to keep this wonderful craft alive! Love and prayers to you both!
The plates are very beautiful. Where can I buy one to decorate? Tina
I think I’m in love. Thanks for inviting Penny to share this tutorial!
ALL are beautiful!!!!!!
Annamaria
What a great idea! I am so going to do this!
It’s lovely! I have seen this on your link party and I eagerly opened it at that time thinking it looks same as my cosmos doily. But when I saw, it was something new and creative 🙂
How nice of Penny to share! These are incredible. I am a bit a a plate freak myself so these really make me happy.
ΠΑΡΑ ΠΟΛΥ ΟΜΟΡΦΑ ΚΑΙ ΠΡΩΤΟΤΥΠΑ!!!!ΜΠΡΑΒΟ!!!!!