Hello Petals to Picots Readers! I’m Nancy from Catholic Sprouts and, like you, I am a proud, devoted and loyal reader here (isn’t Kara the best?). Along with that, Kara is a dear friend and was nice enough to hand the blog over to me for the day so that I could share a little project that I have been working very very hard on: My Pretty ABC’s Felt Alphabet Book.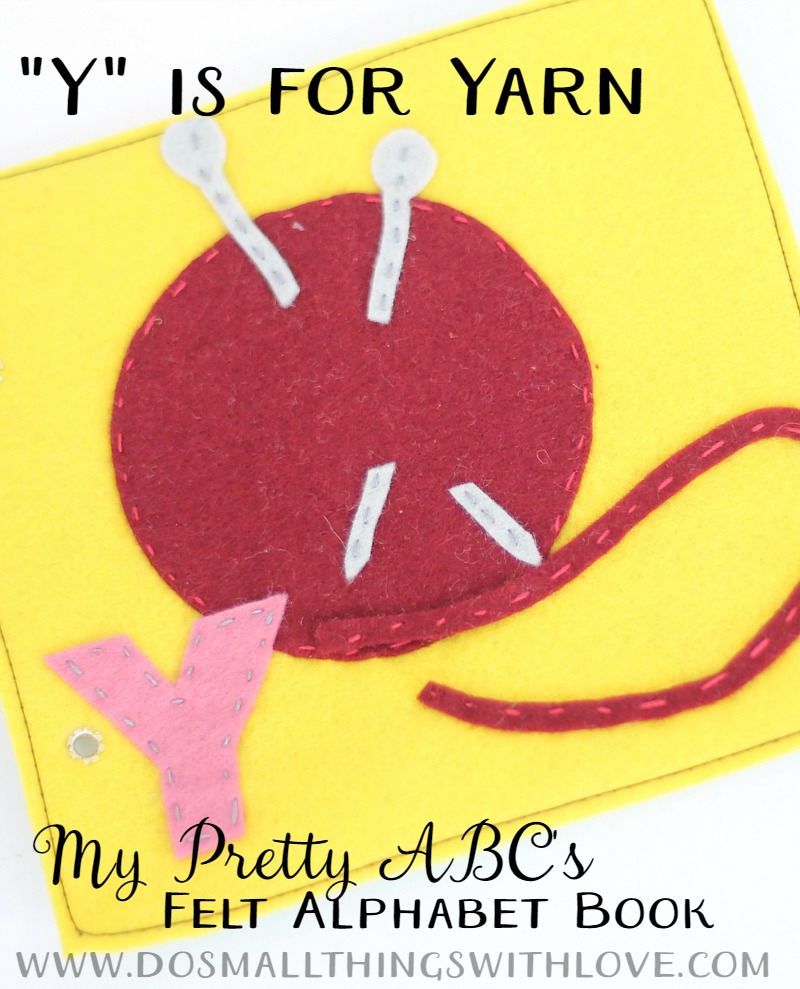
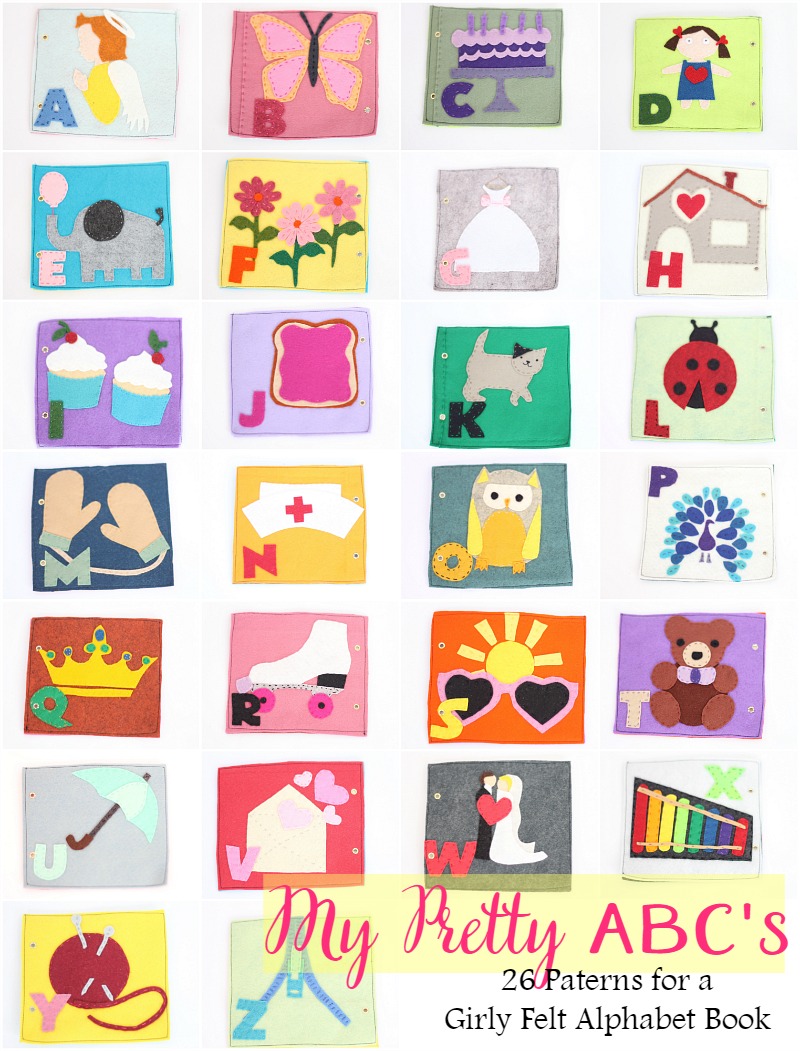
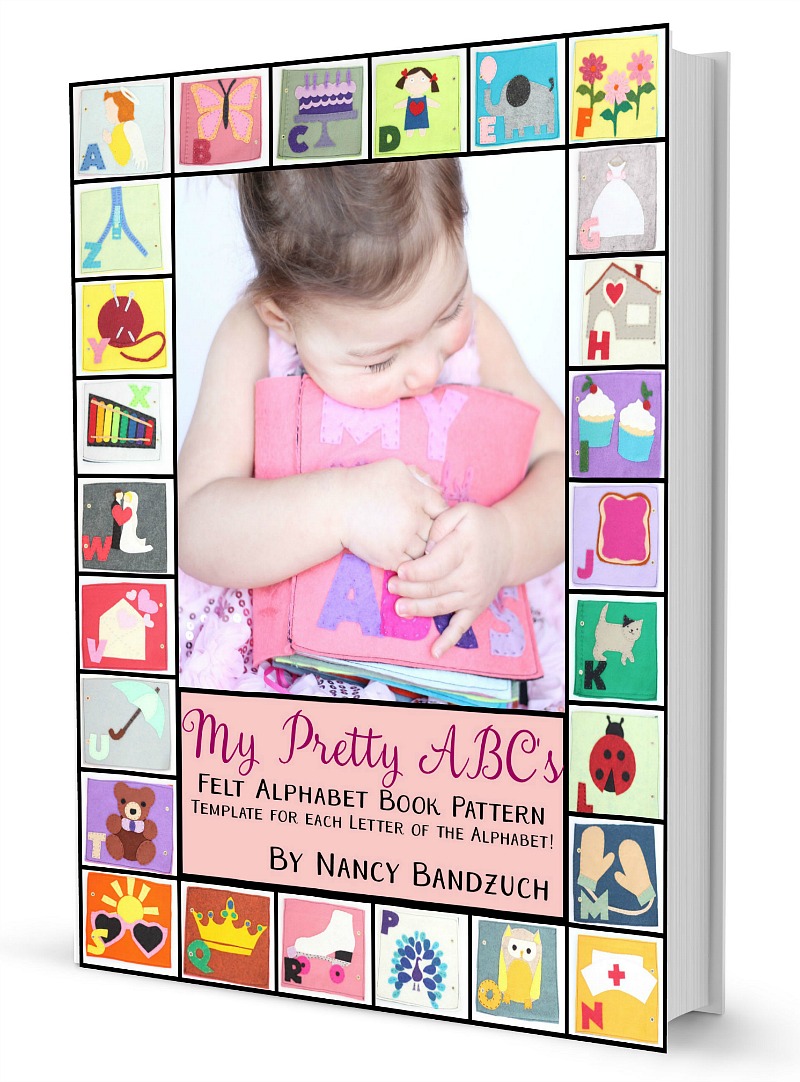
You see, I have a pretty little 2 year old girl, and, well, she needed a pretty little alphabet book (of course). I decided to make the alphabet book out of felt because I might love felt as much as Kara loves yarn! I had a ton of fun making up the book and decided to draw up the patterns as I went. The project got a little bigger than I expected, but I loved making it, and my little 2 year old is in love with her new Pretty ABC book. Here’s a look at all of the pages:
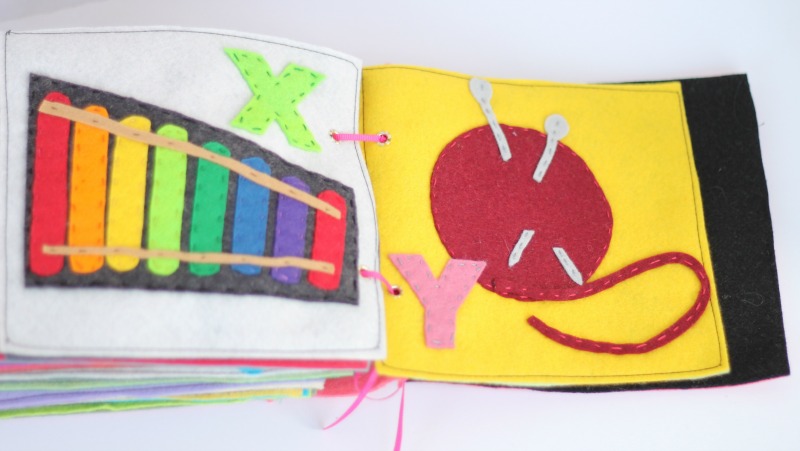
I thought I’d share one of my favorite pages from the book — Letter Y. And, I know I won’t have to work very hard around here to convince you all that “Y” really is for yarn!
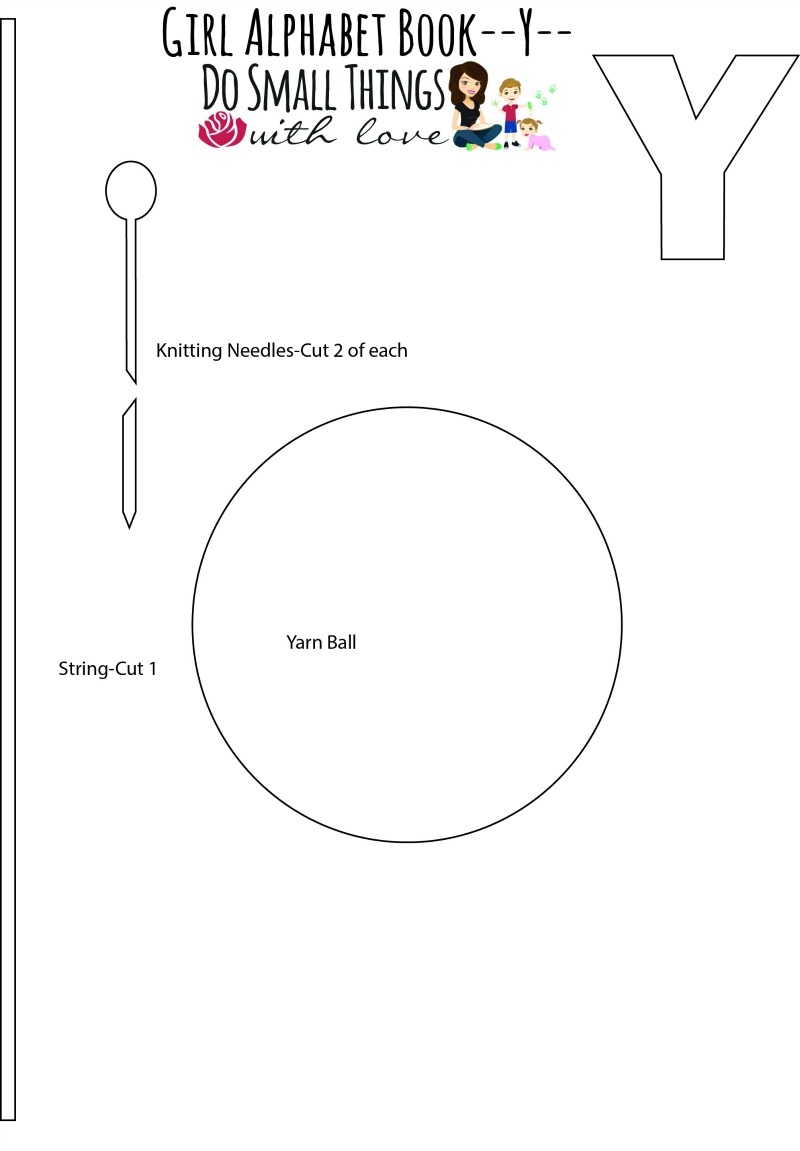
Here is the pattern for this page. Click the link below the image for a full version PDF of the pattern, ready to print.
Once you have the template printed out on regular computer paper, you will need:
- Wool Blend Felt–I get my felt HERE. You can choose any color combination!
- 6 × 6 piece of felt for the base of the page.
- Matching Embroidery Thread
- Clear Tape
- Sharp Scissors
First, cut out your felt pieces.
The easiest way I know to get a perfect cut when working with felt is to tape your template directly to the felt you are cutting. Simply cut out the shape on your paper template, then cut a piece of felt slightly larger than the shape you are cutting. Next, using clear tape, tape the paper directly to the felt. Finally, grab some sharp scissors and cut through the tape. This method is much easier and more accurate than using straight pins.
Once you have all of your pieces cut out, lay them out. Pay attention to where the pieces overlap. You will begin stitching from the bottom up, so remove the top pieces and begin by stitching the circle down to the 6×6 page base. After that, stitch down the needles and the string.
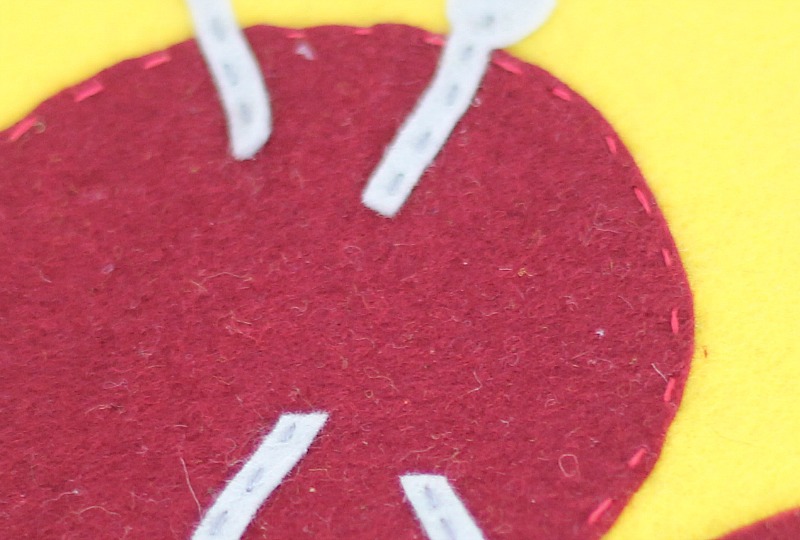
The only stitch I used while creating this page is a simple running stitch. The running stitch is the most basic stitch. For more info on this stitch, check out THIS POST.
I should add, if you’d like you can, of course, just glue down the pieces instead of stitching them. If you decide to do this I would recommend using Fabri-Tac, or another permanent fabric glue.
However, (and maybe I’m biased) I think stitching is a better option. Yes, it will take longer, but the whole point of this book is to create something beautiful that your little one will cherish for a long long time. Slow down, make it awesome and stitch.
This, of course, is just one page in the alphabet book. There are a couple different ways to bind a felt book and I go into how I bound this book here.
Like I said at the top of the post, I am launching the entire “My Pretty ABC’s” Pattern today–and selling it for only $5 this week and this week only.
For more details on the pattern My Pretty ABC’s and a little bit about my sweet little 2 year old that inspired the project, make sure to head over to my blog and check it out.
Thanks so much to Kara for letting me be here.
Happy stitching (or hooking)



Impatiently awaiting the arrival of the book for boys! 🙂
Hi, is this open worldwide?
Love the blog
Jenny
UK
Yep, it’s open worldwide 🙂
This is such a cute book…I LOVE that “Y” is for Yarn! 😀
Hey Kara, the give-away ended on 3/4/15 and I’m just now getting this blog! Too late to enter, What’s-up??
Oops … that was a typo. The giveaway ends at midnight on 3/11/15. Thanks for letting me know!
Great! Have 2 little grandkids want to make it for them. Look forward to seeing the one for boys.