It’s been awhile since I needle felted and I’ve been itching for a project. I decided on making a little friend for the sweet needle felted woodland owl that perches on my desk. If you’ve never needle felted before, no worries … my aim for this Needle Felted Hedgehog Tutorial was to have lots of step-by-step photos so you can jump right in and try it out. But if you feel more comfortable with a little needle felting introduction, you can refer to my post Needle Felting 101.
This adorable little guy is perfectly cuddly too … no prickly quills about him. Isn’t he adorable?!
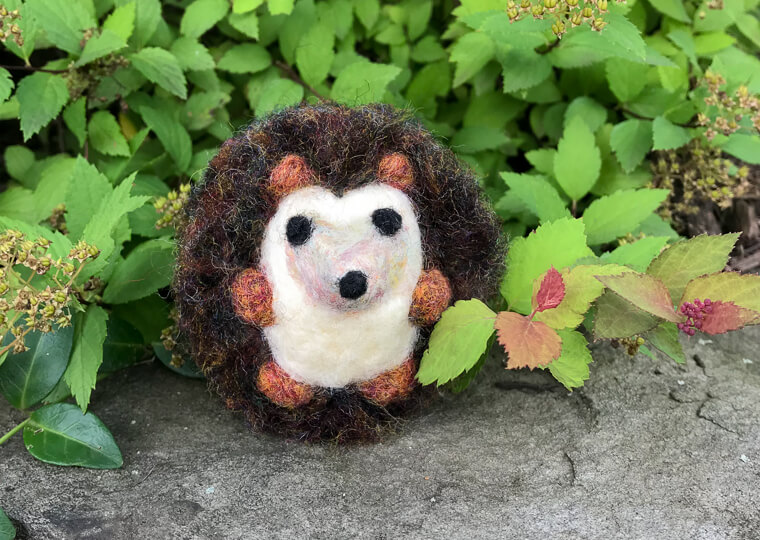
Needle Felted Hedgehog Tutorial
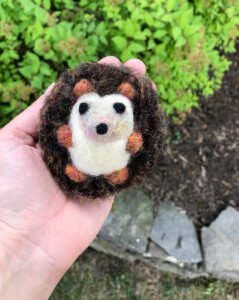
Here is what you’ll need:
- 36- or 38-gauge felting needle(s)
- foam pad
- 5 colors of wool roving in your choice of owl colors, I used Kraemer Yarns Mauch Chunky Roving in the following colors:
- CA = water chestnut
- CB = spice
- CC = jelly bean
- CD = black
- CE = licorice snaps
- scissors
Step 1
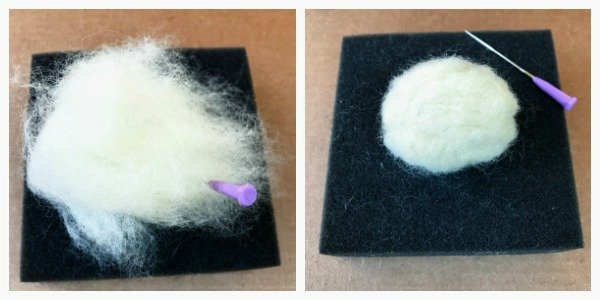
Grab a handful of CA wool and roll it in your palms to form a ball. Use a felting needle to poke the wool into a firm oval shape but take care not too needle it too firm because we want to be able to still attach more layers of wool to it. Add more wool if desired to get the size and shape you like.
Step 2
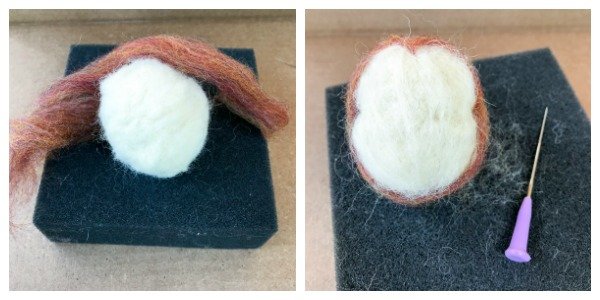
Grab a few wisps of CB wool and layer them around the top and backside of your hedgehog, leaving CA showing in the front. Needle it until attached. At this point, you can add a little shaping to where the head and the body of the hedgehog meet by working the area with your needle until you are satisfied with the indent.
Step 3
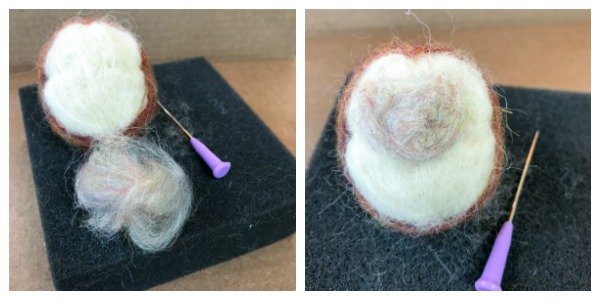
With a few wisps of CC wool, needle it onto the face in the areas that the eyes and snout will be. Shape the snout out and somewhat pointy by working the area with your needle.
Step 4
Roll some CB wool between your palms to form a small ball and needle it into shape. Once the ball firms up, needle it to the side of the hedgehog to form an arm. Repeat on the other side and then again for legs. With small amounts of CD, needle it to the face to make eyes and again at the tip of the snout.

Step 5
We are going to work the hedgehog quills a little differently. I used a 5 needle tool for this for faster felting. Lay some wisps of CE wool flat on your foam pad and needle it until somewhat stiff. Then taken the piece and form a small loop on top of the hedgehog and needle the base of the loops to secure. Make another small loop right beside the first and needle it at the base to attach again. Continue this until the whole top and back of the hedgehog is covered. When done, use a scissor to cut open the tops of each loop.

Finishing
Now all that’s left to do is some finishing touches! Needle any parts into shape that you aren’t happy with. Use scissors to trim and shape the “quills” as desired.
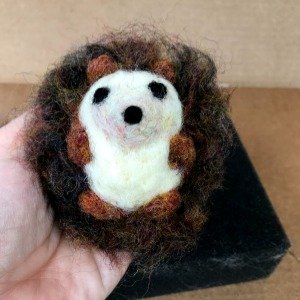
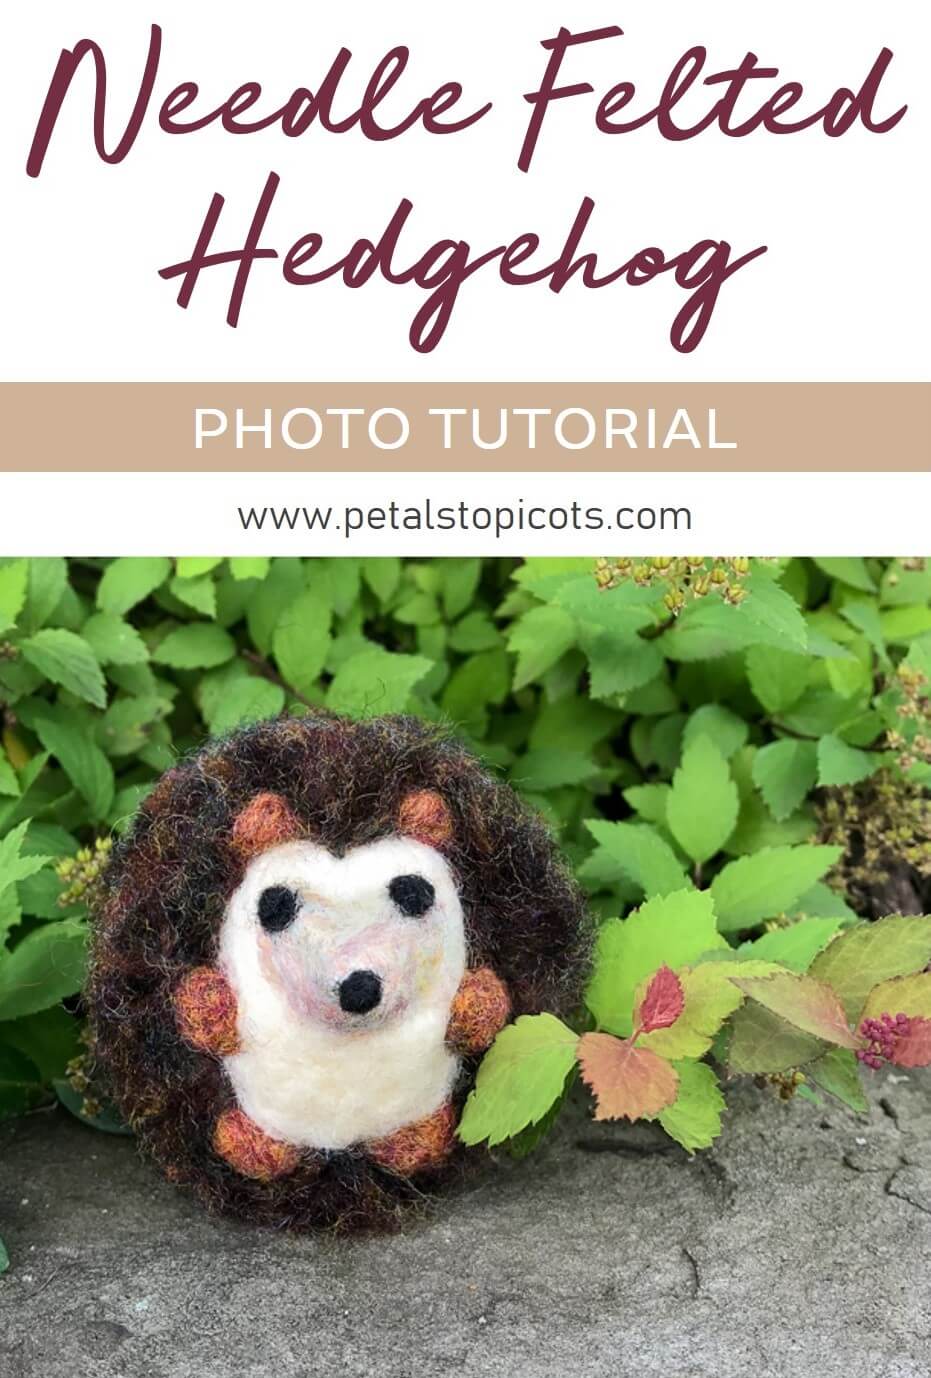
Now just find a place to show off your adorable little needle felted hedgehog! And don’t forget to click here for more fun needle felting projects.


Will try the hedgehog. Looks fun