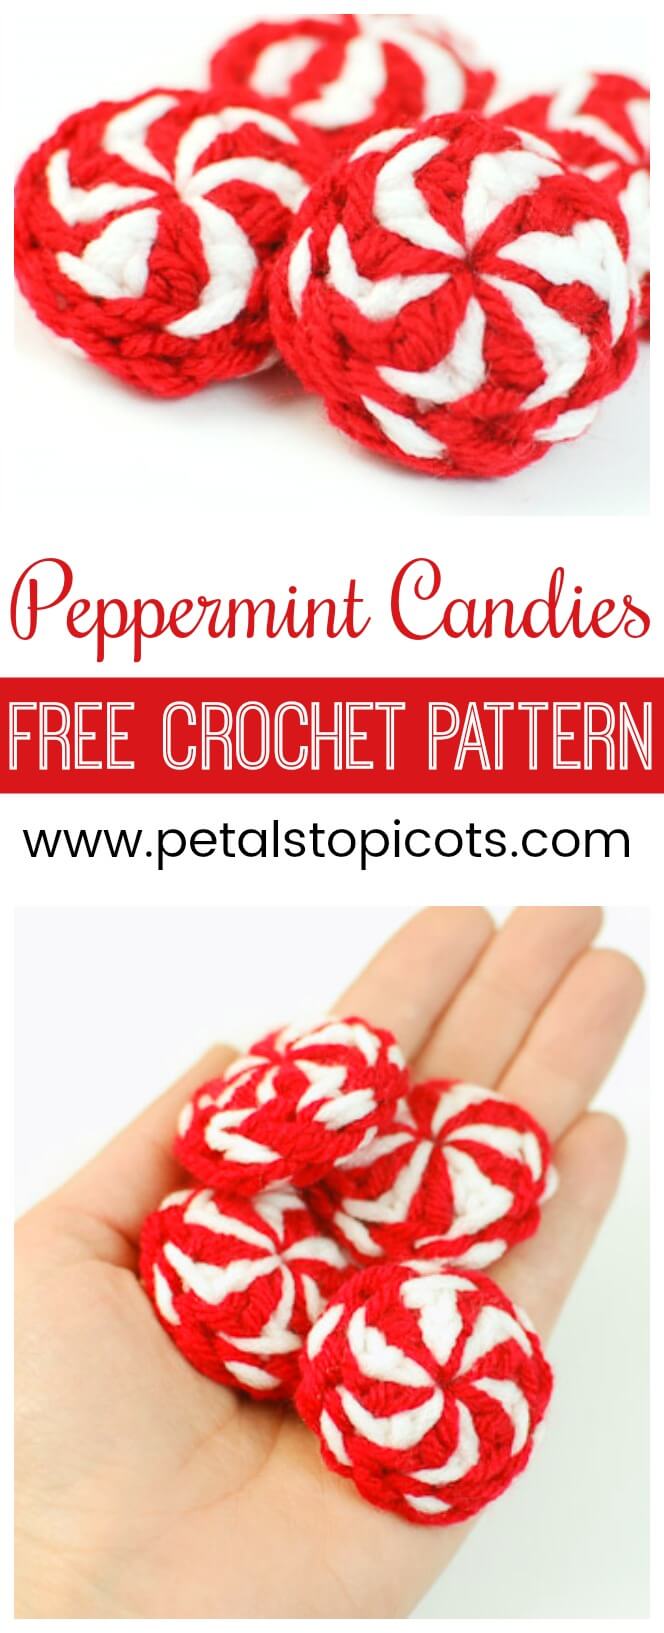
This peppermint candy Christmas crochet pattern creates sweet little peppermints reminiscent of holidays past. They are so quick and simple that you can easily make a bowl full in an evening. I’ve also included plenty of photos below to help guide you through making the color changes seamlessly.
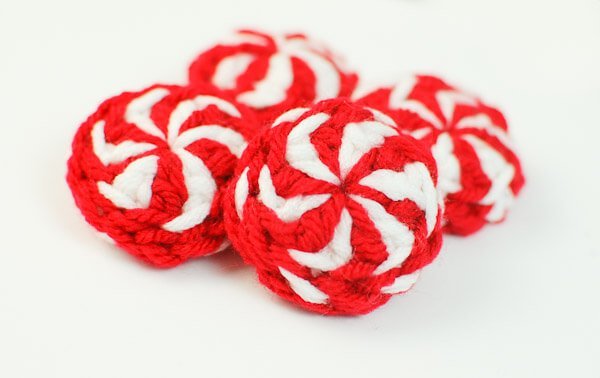
Peppermint Candy Christmas Crochet Pattern
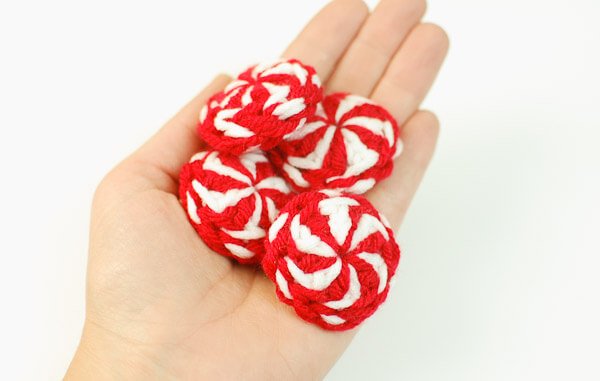
Here’s what you will need:
- red and white worsted weight yarn
- US G-6 / 4.0 mm crochet hook
- tapestry needle and scissors
Resources and tutorials you may find helpful in following this pattern: Crochet Abbreviations, U.S. to U.K. Crochet Conversion Chart.
Add this pattern to your Ravelry library.
Note: The peppermints are essentially 12 double crochets worked in the round alternating between white and red. The photo tutorial below will show you how you can make these color changes seamlessly by changing colors on the last yarn over and pull through of each double crochet.
With white ch 3, join red by pulling up a loop and creating a 4th ch as shown (counts as first dc).

With red, begin making a double crochet by yarning over and inserting hook into the furthest chain from hook, pull up a loop (3 loops on hook), yarn over pull through 2 loops (2 loops on hook).
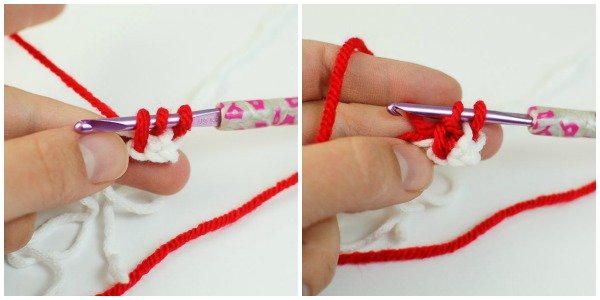
Yarn over and complete double crochet with white. Continuing with white, begin next double crochet by yarning over and inserting the hook back into the same chain as last double crochet was worked, pull up a loop (3 loops on hook), yarn over pull through 2 loops (2 loops on hook). Yarn over and complete double crochet with red.


Continue working double crochets into ring until you have 12 stitches (remember the beginning chain counts as a stitch). On your final double crochet, again yarn over and complete double crochet with white.
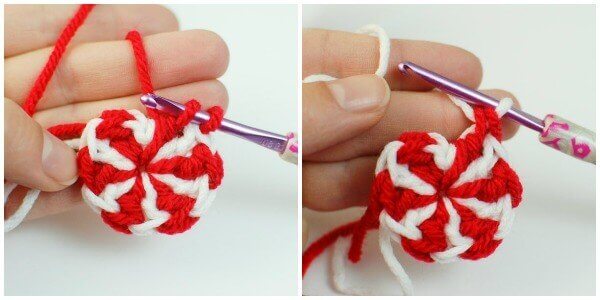
You now have all your stitches done. You can either join the round with a traditional slip stitch in the top of the beginning chain or you can try the invisible join. I think the invisible join leaves a nice finish.
Here’s how to do it …
Invisible Join
Cut yarn and fasten off after the last stitch. Using a tapestry needle, weave tail under both loops of the second stitch of the round, then weave it back into the center of the last stitch.
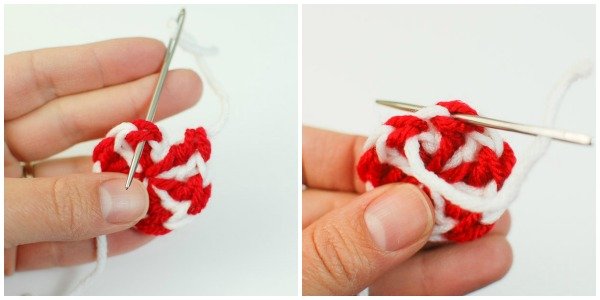
That’s it! It looks just like a regular stitch … cool, huh?!
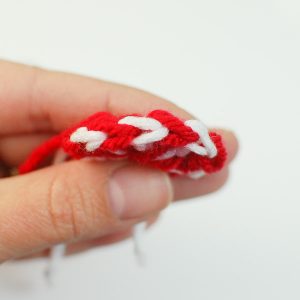
Finishing
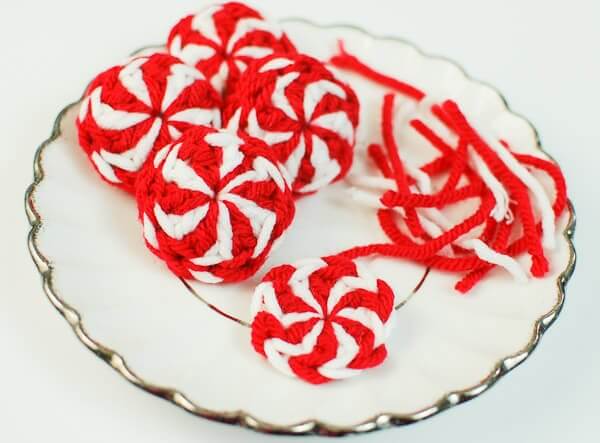
You can either weave in your ends now and leave the piece as is or sew two together for more of a candy look.
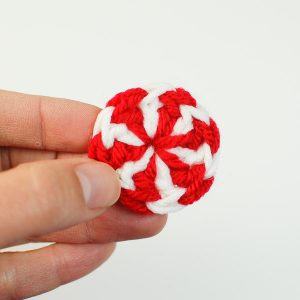
To attach two together, put wrong sides facing and slip stitch through back loops of each.

Finito!
Enjoy!
YOU MAY ALSO ENJOY …
- Christmas Tree Skirt Pattern
- Woodland Christmas Tree Crochet Pattern
- Fair Isle Snowflake Christmas Stocking Crochet Pattern
- Santa Wine Bottle Tote Pattern


I sure would like to have the candy cane Afghan pattern written in English. I would like to try it.
Hi Kara!
Have you ever made the peppermint candies larger? I think they would be cute coasters.
Hi Terri 🙂 I do have a pattern where I enlarged this design to make a larger peppermint candy. Here it is worked up in scrubby yarn but would work just as well in cotton for use as a coaster. Hope you enjoy it!
https://www.petalstopicots.com/2017/11/christmas-peppermint-crochet-scrubby-pattern/
Thank you for the peppermint candy pattern. They’re wonderful stocking gifts and will look great on the bows for wrapping packages!
It would be nice if you would include simple directions separate feom the pictures. I’m sure those pictures and overly wordy explanations are useful for beginners, but they are useless for experienced crocheters. I really don’t want to waste paper and ink to print studff I don’t need.
Hi Mary 🙂 Yes, it’s always a struggle for me to find the right balance of creating posts that are detailed enough for beginners, yet still fit the needs of those more experienced like yourself. I err on the side of more photos and explanations because the print friendly button on each post allows readers to choose which parts they want to print and to delete the parts they don’t need. That way you only use paper and ink on the parts you want. Hope that helps!
Lovely Pattern with awesome photo-tutorial.
They look yummy
To cute. These will be perfect for my 4 year old.. to use as hair clips for her ballet peppermint twist act.. 🙂
Great idea!
I know this pattern doesn’t call for it, but I have a magic ring question. I just learned about this technique, it’s pretty cool. But, my problem is my stitches seem to be very tight in the ring which makes them very small. Is this how it should be, or does it just take practice? Are there any other tips you can provide? Thanks so much, love your site.
I do have a magic ring tutorial and video under the menu option for crochet tutorials. It is normal for the stitches to seem slightly bunched together in the ring. Is that what you mean?
Yes, and yours is the tutorial I watched 🙂 Got the link from Repeat Crafter Me.
Love this pattern!! I have already made several but sometimes I end up with a huge hole in the center. I try to tighten and loosen my stitches but still get it. Do you have any suggestions as to what I’m doing wrong? Thanks for the pattern.
Wow Kara! These are so festive and another great tutorial!
I’m wondering… would you be able to do this with just one color and then make it into an ornament?
These peppermints are so cute! I wonder if a 2nd row could be added to make them bigger (to use as a makeup scrubbie)?
That is a fabulous idea! To add a second round, just work 2 dc in each dc around 🙂
I love that Idea Nance I make alot of face scrubbies, so I will make them for sure. Thanks Nance.
Lovely and Super cute!!! Thanks for sharing the pattern.
These look REALLY cute! I so have to make them! Thanks for posting the pattern!
Oh, my…these are super cute!!! you are so creative, Kara 🙂
These are really nice!!!!
thank you so much, xxxxxx Ale
I am so going to enjoy making these, Thankyou Karen