
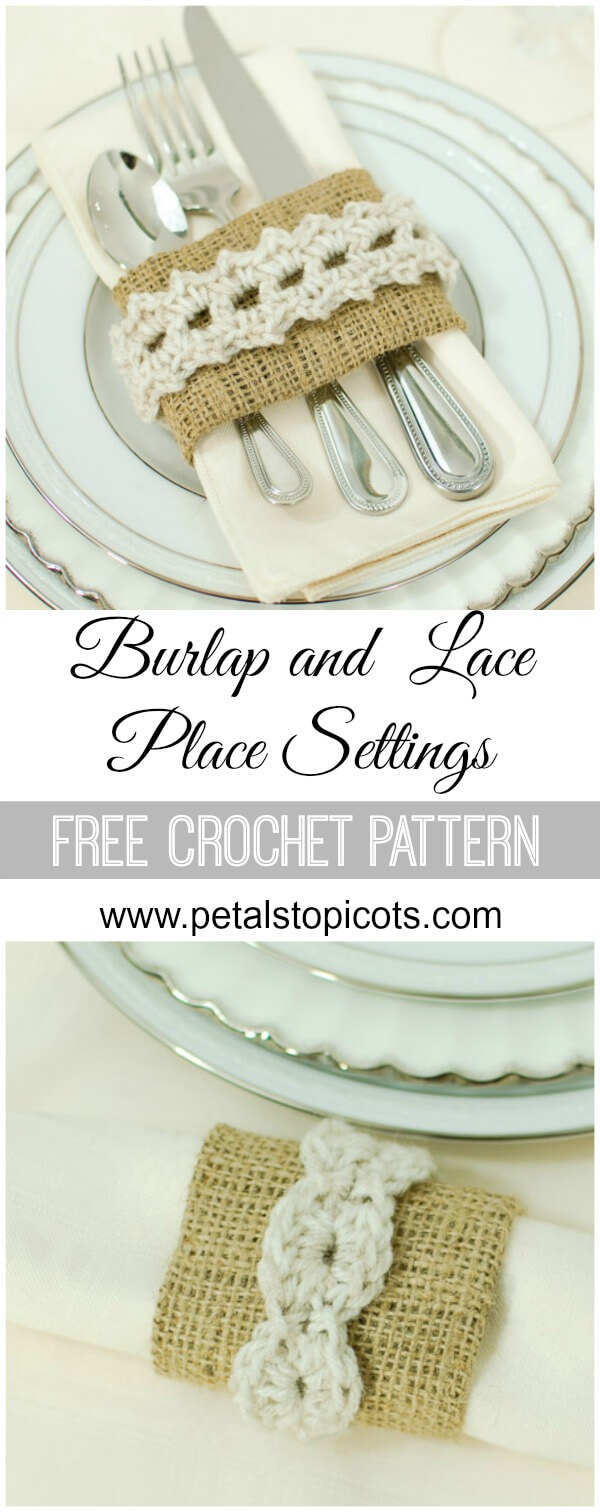
I love the shabby chic feel of these burlap and crochet place settings. I love the shabby chic feel of these burlap and crochet place settings. They are pretty, yet rustic, and perfect for formal and informal dining alike! Pair them with my Jute Crochet Placemats Pattern and you have a charming handmade crochet place setting.
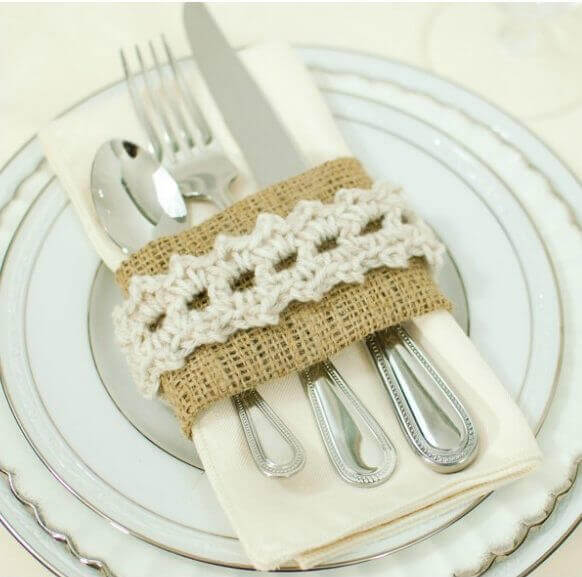
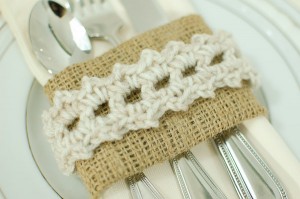
You can use them in a formal place setting like above or use them to roll up your silverware for a buffet spread like shown below.
You can use them in a formal place setting like above or use them to roll up your silverware for a buffet spread like shown below.

Below I’ve written out the patterns for each style of crochet trim and also have a simple “how to” for putting it all together. Hope you enjoy it!
Burlap and Crochet Place Settings
Here’s what you need:
- burlap (you will need approx. a 12 in. × 7 in. for each one)
- worsted weight yarn (I used Vanna’s Choice in Linen and think it complements the burlap perfectly!)
- US H-8 / 5 mm crochet hook
- hot glue gun
This free pattern is written in U.S. crochet terms and abbreviations. Stitch counts are provided at the end of each round to help you keep on track.
Resources and tutorials you may find helpful in following this pattern: Crochet Abbreviations, U.S. to U.K. Crochet Conversion Chart.
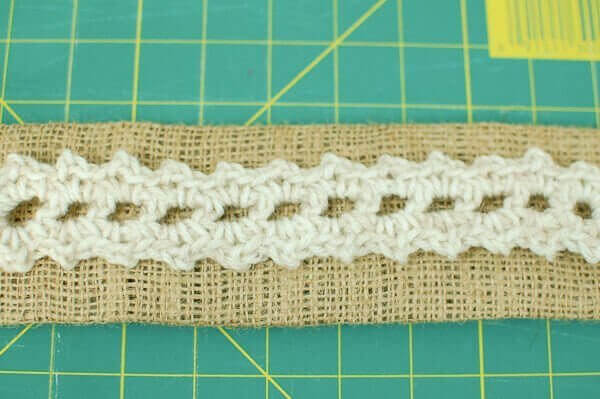
Pretty Points
Ch 28.
Row 1: Work 1 dc in 6th ch from hook (counts as a dc and 2 ch-1 sp), *ch 1, sk next ch, work 1 dc in next ch, rep from * 10 more times, turn — 13 dc and 12 ch-1 sp.
Row 2: Ch 1, work [1 sc, ch 2, 1 sc] in each ch-1 sp across, do not turn; work 3 dc around post of end dc from Row 1; still not turning your work and continuing to work along opposite side of beginning ch, work [1 sc, ch 2, 1 sc] in each ch-1 sp across, work 3 dc around post of end dc from Row 1, join to first st of row — 24 points.
Fasten off, weave in ends.
Petite Shells
Ch 27.
Row 1: Beginning in 3rd ch from hook (counts as 1, *work 4 hdc, sk 1 ch, Sl st in next ch, sk 1 ch, rep from * 5 more times, work 9 hdc in last ch, do not turn; working along opposite side of beginning ch, **sk 1 ch, Sl st in next ch, sk 1 ch, work 4 hdc in next ch, rep from ** across, join in top of beginning ch — 14 shells.
Finishing
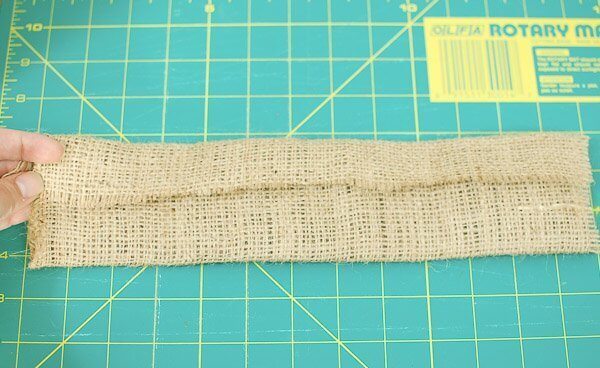
Cut a piece of burlap approximately 12 in across and 7 in wide. Fold raw edges over each other as shown below and add a few dabs of hot glue to secure it down. This is the wrong side of the piece.
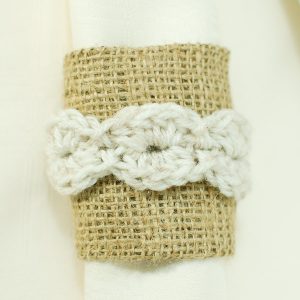
Turn burlap piece over to the right side and place your crochet trim across the center of it. Add a few dabs of hot glue to secure.
Once dry, form a ring with the burlap and crochet piece and secure with glue. I also think pieces of Velcro would work great for fastening the ring together but I didn’t have any on hand and the hot glue worked well enough for me.
You’re all done … now just finish off your crochet place settings withe a napkin and flatware and you’re ready to set your table!

Kara – this is gorgeous! I love how pretty and feminine the crocheted lace is, but the burlap really balances it all out! Love it!
Great idea, Kara! It looks so lovely and elegant 🙂
Thanks, Ana 🙂