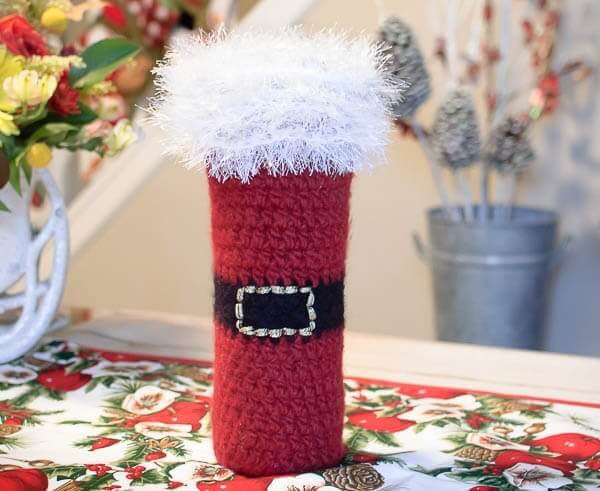
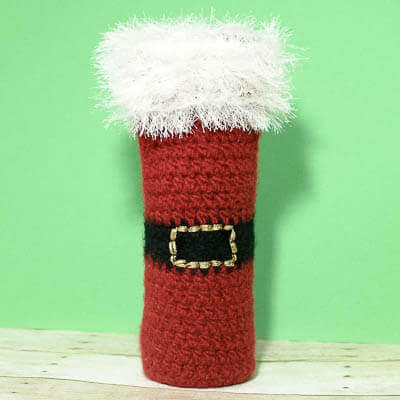
Get in the festive spirit with this Felted Santa Wine Bottle Tote Crochet Pattern … perfect for toting a bottle to your next holiday gathering or to give as a gift. Like my Everyday Striped Felted Wine Tote Crochet Pattern, the felting process makes this wine tote super durable … no sagging and stretched out stitches here! (What is Felting? Read my post here.)

Felted Santa Wine Bottle Tote Crochet Pattern

Here is what you will need:
- 1 skein (93yd/85m) red bulky weight feltable yarn, I used Lion Brand Alpine Wool in Chile #115
- 1 skein (93yd/85m) black bulky weight feltable yarn, I used Lion Brand Alpine Black Pepper in Black #154
- 1 skein (55yd/50m) fur or eyelash yarn, I used Lion Brand Festive Fur in White #100
- 1 spool (16ft/5m) Lion Brand Glitterspun in Antique Gold
- US K-10.5 / 6.5 mm crochet hook
- US F-5 / 3.7 mm crochet hook
- yarn needle and scissors
- small or sharp crochet hook (I used a US E-4 / 3.5 mm crochet hook)
- washing machine
Resources and tutorials you may find helpful in following this crochet pattern: Crochet Abbreviations, U.S. to U.K. Crochet Conversion Chart, How to Make a Magic Ring {photo & video tutorial}.
Add this pattern to your Ravelry library.
Size: Fits 750 ml bottle after felting.
Gauge before felting: 10 sc × 12 rows = 4 in.
Size before felting: 14 in. × 6 in. laying flat.
With red, make a magic ring (as an alternative to the magic ring, you can ch 4 and join with a slip stitch in furthest chain from hook to form a ring).
Round 1: Ch 2 (counts as hdc here and throughout), 7hdc in ring, join – 8 sts.
Round 2: Ch 2, 1 hdc in same ch as join, 2 hdc in each st around, join – 16 sts.
Round 3: Ch 2, 1 hdc in same ch as join, 1 hdc in next st, *2 hdc in next st, 1 hdc in next st, repeat from * around, join – 24 sts.
Round 4: Ch 2, 1 hdc in same ch as join, 1 hdc in each of the next 5 sts, *2 hdc in next st, 1 hdc in each of the next 5 sts, repeat from * around, join – 28 sts.
Rounds 5 through 11: Ch 2, 1 hdc in each st around, join – 28 sts.
Drop red yarn but do not fasten off.
Rounds 12 through 14: With black yarn, ch 2, 1 hdc in each st around, join – 28 sts.
Fasten off black yarn.
Rounds 15 through 22: With red yarn, ch 2, 1 hdc in each st around, join – 28 sts.
Round 23: Ch 1 (does not counts as st here and throughout), 1 sc in same st as join and each of the next 5 sts, ch 10, skip next 7 sts, 1 sc in each of the next 7 sts, ch 10, skip next 7 sts, 1 sc in last st, join – 34 sts.
Round 24: Ch 1, 1 sc in same st as join and each st and ch around, join – 34 sts.
Round 25: Ch 1, 1 sc in same st as join and each st around, join – 34 sts.
Round 26: Ch 1, 1 sc in same st as join and each st around, join – 34 sts.
Round 27: Sl st in each st around, join – 34 sts.
Fasten off and loosely weave in ends. Weave a length of yarn around handles to reinforce
Felting Your Tote
You will notice that your tote looks a bit too large right now for a 750 ml bottle but that is because we needed to account for the shrinkage involved in felting. (You can read more about the math to calculate this if you’re interested in my Felting Knitting & Croche post here.) My preferred method of felting is to just through the piece in the washing machine with a load of like color jeans or towels (take the same care to consider color bleed as you would with a new garment; that is, don’t felt a dark color with white towels). Wash in hot water and check your piece every 5 or 10 minutes until it is the size you would like, use a bottle of wine for sizing.
Once your tote is felted to size, rinse it in cold water and roll it between two towels to get out the excess moisture. Then put in your bottle of wine and let it fully dry.
Embroidering the Buckle
Using a yarn needle and a long length of sparkly lightweight yarn or crochet thread (I used Lion Brand Glitterspun in Antique Gold), and with right side (your choice!) of the tote facing, embroider a rectangle “buckle” in the center of the black stripe “belt”. I used a back stitch and stitched across the center 5 sts and up the 3 rows. Tie off piece inside to secure.

Adding the Fur Trim
Next we need to add our fur trim. I was used a small crochet hook (I used a USE4/3.5mm) but if your felting is too dense to fit a small hook through, you can also use a sharp crochet hook or your yarn needle. Starting with Round 22, surface stitch the fur in each stitch around. Repeat for Rows 23 thru 27. If desired, you can weave extra fur trim around the top to get your desired effect. Weave in ends.

That’s it … all that’s left is showing it off!
YOU MAY ALSO ENJOY …
- Lace Angel Pattern
- Peppermint Crochet Scrubby Pattern
- Fair Isle Snowflake Christmas Stocking Crochet Pattern
- Santa Gift Card Holder


Hello! I love this! I am crafting up a blog post on gifts you can make with an old sweater. Hope you don’t mind if I post a picture and link back to your blog for others to see how to make this?
Lovely pattern. Listed it on our website for awesome patterns for Christmas Wine bags 🙂