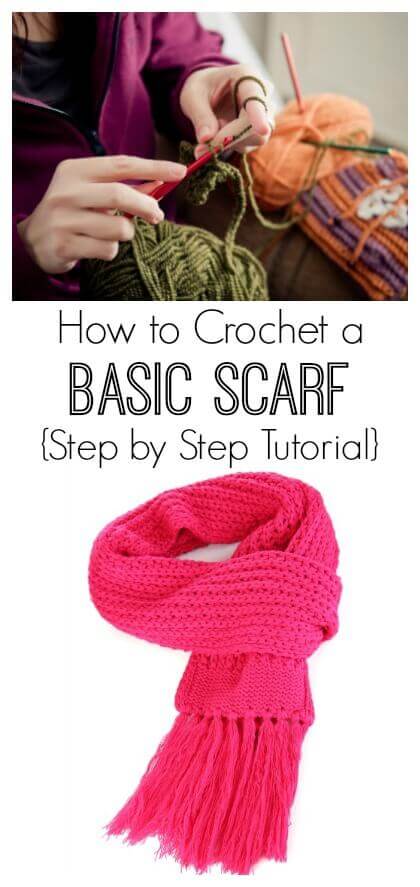
Today we are going to look at how to crochet a basic scarf. We’ve got Annabelle Short from Wunderlabel here to walk us through the steps. Take it from here, Annabelle …
How to Crochet a Basic Scarf for Beginners
(Step by Step)
Have you ever found yourself spending far too much money on fashion and accessories?
You might go to the store just for a scarf and somehow leave spending upwards of $30…
But, learning to crochet can quickly solve a problem like this.
One of the best parts about learning to crochet various items is that there are some items – such as a scarf – that you can simply make yourself. It will be cheaper and you can personalize it to perfectly fit your style – making crocheting the perfect craft.
But, of course, you might have some trouble crocheting a scarf if you don’t know how…
So, let’s get started:
Start your project by gathering your supplies…
Here’s what you will need:
- Yarn
- Crochet Hook (the size will be based on the specific pattern you use)
- Tapestry Needle (used to weave in the ends)
- Crochet Pattern (of your choice)
How to:
Make the foundation.
Regardless of the crochet pattern you are using, you will start your project by creating the foundation for your upcoming rows.
Create a slipknot to slide onto the hook – this will act as the foundation for the rest of your stitching.
To create a slipknot:
- Wrap the end of your yarn around your index finger in a loop.
- At the end of your loop, tuck the center part of the yarn through the loop – creating a second loop.
- Slide the first loop off your finger and tug on the second loop to tighten the slipknot.
- Place the slipknot on your crochet hook (at the end) and adjust it by pulling the strings.
Start stitching.
Your next step will be to make a chain of stitches that reach the desired width of your scarf. For example, for an averagely sized scarf, you might do around 13 stitches.
Please note, the type of stitch will depend on your pattern – it might be a typical single crochet stitch or it might be something more intricate, depending on the desired outcome.
You will also need to add a few extra stitches – the number will depend on the stitch you are using – to function as your turning chain. For example, if using a single crochet stitch, you will need three extra stitches.
Work your rows.
Once you have completed the foundation – your slipknot – and the first row of your scarf, you are ready to work your rows. You will continue doing the stitches until you reach the end of the row.
Next, you will create a turning chain, rotate the project, and continue onto the next row.
You will continue working your rows until you have reached the desired length that you want your scarf to be.
Finishing Up
Once you have reached the length you would like for your scarf to be – or the end of the pattern you are using, it is time to finish it up.
Complete the final stitch, then pull the loop of the last stitch through to widen it, making it at least a few inches longer. Cut in the center of the loop and pull out the cut yarn (that is still attached to the ball of yarn).
To hide the tail, use your tapestry needle to sew it back into the stitching of the scarf.
And, voila! You have now finished your first crocheted scarf.
Now, you can show it off to all your friends and family while staying warm and cozy!
What was the first pattern you used to crochet a scarf? Share with us in the comments!
Annabelle Short
Writer, Mom and Craft Lover, Wunderlabel
[email protected]


This is so very helpful as it is so well written and detailed. For a beginner. This Is truly wonderful. Thankyou for writing this . All the advice is perfect.
Hi! My third crochet project was a self-fringing scarf. I found the pattern in the book, “Crochet”, by DK. It’s wool, with black and dark red striping running the length of the scarf, leaving the ends trailing as the fringe. I also added some extra fringe to thicken it up a bit. The scarf was a lot of fun to make, especially for a beginner. I’m looking forward to wearing it when the colder weather hits. Thank you for this post! Great advice to apply no matter what scarf you’re creating.