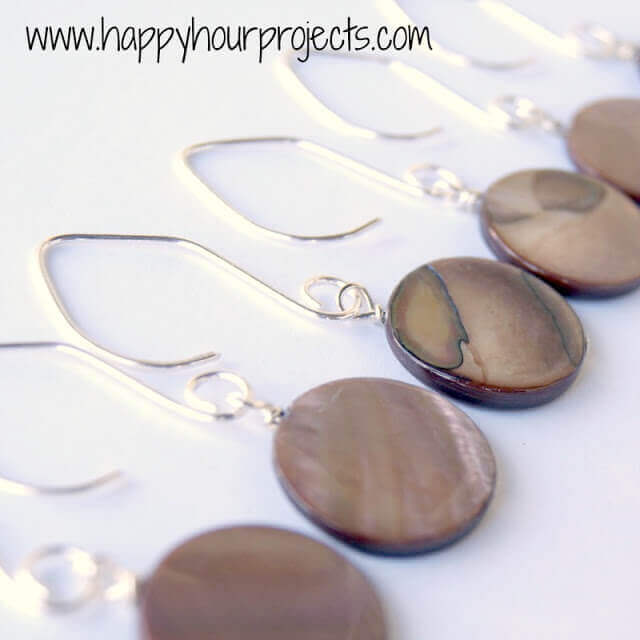
I have such a wonderful surprise for you today … one of my bloggy besties is here to show us how to make stitch markers (yeah!). With only a few simple craft store items you can whip up these unique markers to use on your next knit or crochet project (you can find lots of free crochet patterns here and free knitting patterns here). Even better … they make a super special and unique gift for a yarn loving friend.
Take it away, Adrianne …
~ ~ ~ <> ~ ~ ~
Hi! I’m Adrianne, and I blog over at Happy Hour Projects, where I focus on quick and easy projects you can do in an hour or less. You’ll find a pretty wide variety of projects — jewelry, sewing, baking — but what they have in common is that I present photo tutorials for creative things you can actually fit into a busy day. Because like a lot of you — my days are packed!
Interestingly enough … what I don’t do is crochet. (Weird that I would be here today, then, right?) I’ve come to know Kara through blogging and she has become a really good friend — so when I had an idea for a project that overlapped the things we both enjoy doing, I was happy that she allowed me to share it here with all of you!

Have you seen those cute little stitch markers on Etsy? Well, they are a lot easier to make than you might think, and they allow for so many possibilities to personalize! (And if you haven’t seen them, you are totally going to love today’s project because I’m going to show you how to make stitch markers!) You need some basic jewelry tools and findings, but I will walk you through how to make stitch markers. If you watch the sales or coupons, these supplies will be really reasonable and you can find them at any craft store (like Hobby Lobby, Michael’s, Joann’s, etc).
How to Make Stitch Markers

What you will need:
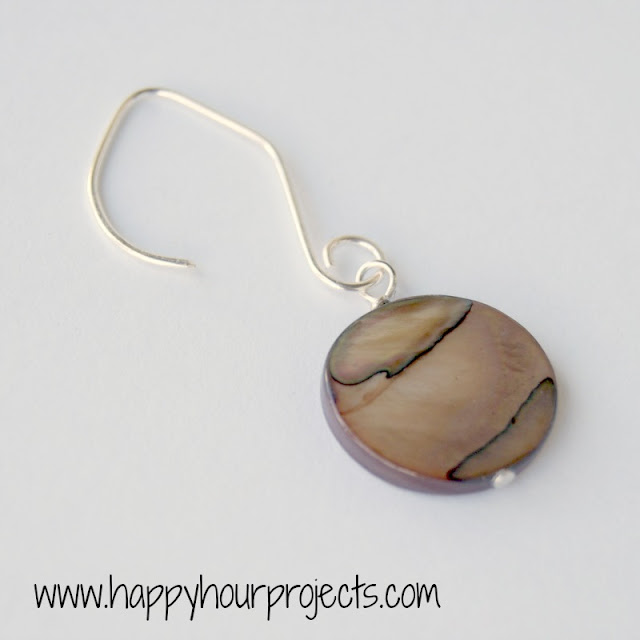
- Beads you love – I picked a round disc river shell bead strand from Hobby Lobby’s Traditions Line.
- Earring wires – the open kind, or the kind that closes – whatever you prefer!
- Jewelry pins – these will either have a flat base, a loop, or something decorative. Any version will work.
- Jump rings – you may or may not need these, depending on whether the ear wires you choose can open up or not. Some don’t. I didn’t need these with the ear wires I chose.
- Jewelry pliers – The round ones work best, but don’t buy pliers just for this project. Any small pliers will work.
- Wire cutters – the ones from the household toolbox work fine.

The first step is to make your beads into charms. For this, you just need the bead and the pin. My pins are flat on the bottoms, so that the bead doesn’t slide off the end. If the holes in your beads are larger than the head of your pin, you can fix this by putting a smaller bead on the end, like a seed bead.

Now, you need to turn the top into a loop. Do do this, bend it around your pliers like the photo below:

This is why I say round pliers works best, but the loop doesn’t need to be perfectly round, don’t worry. Loop the metal all the way around.

Now, bend the little “tail” around the “neck” you’ve made.
Nip the end of the pin off, if you have any left (it will depend on the size of your bead or beads).

You will probably still have just a little bit of tail poking out. Just use your pliers to press it down. There are no rules a to how many times it should loop around the neck – at least once, but however many times you have room for. I looped mine twice.

Now, I chose ear wires that have an open back – mostly because, they don’t look so much like earrings, they are more convincing stitch markers. 🙂 But the little loop on mine opens up (with some help from your pliers). Just add your bead charm on, and close it back up. If you have chose ear wires that don’t open up, that’s okay, you will just need a jump ring to attache the charm to the wire. Jump rings are just simple rings that open up with a pair of pliers.

Then just repeat this process as necessary until you have a nice set! These make a great gift for yourself or for anyone you know who crochets!

I hope you enjoyed this little craft of mine, and if you’d like to know more about beading, jewelry, or general crafts, I would love to see you over at Happy Hour Projects anytime!
Thanks for having me over, today, Kara!


Thanks for having me over, Kara! 😀
I have been wanting to make some stitch markers with some beads I have, and you have inspired me to start them right away. Thanks for sharing this!
OOoooo they turned out so pretty!! I love that Adrianne was able to cross your two passions!!
Thank you so much for sharing this tutorial! All the photos are fantastic!! I have been wanting to make stitch markers for a few months now (even have various beads/decorations on hand to use) but just haven’t taken the leap because I haven’t been able to find a helpful site on how to make them. This is what I’ve been looking for!!!
Eeeek! So excited!!
Loved your email to me today!! I love all your posts! You are one of my Keepers.
Happy Wednesday,
Elaine
Thanks for sharing such cute project!I love it!
Have a wonderful week!
Hugs from Portugal,
Ana Love Craft
http://www.lovecraft2012.blogspot.com