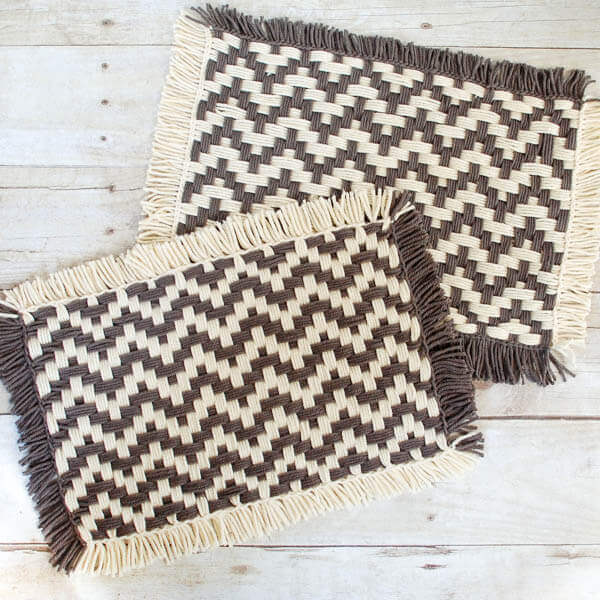
I am so excited to share with you this tutorial on how to weave placemats on a loom! I haven’t used a loom to weave since I was a kid making potholders (remember those?!) and forgot how much fun it is. I thought some placemats would be a nice idea so played around and LOVE how they came out! And of course I wanted to share the “how to” with all my yarn-loving friends …

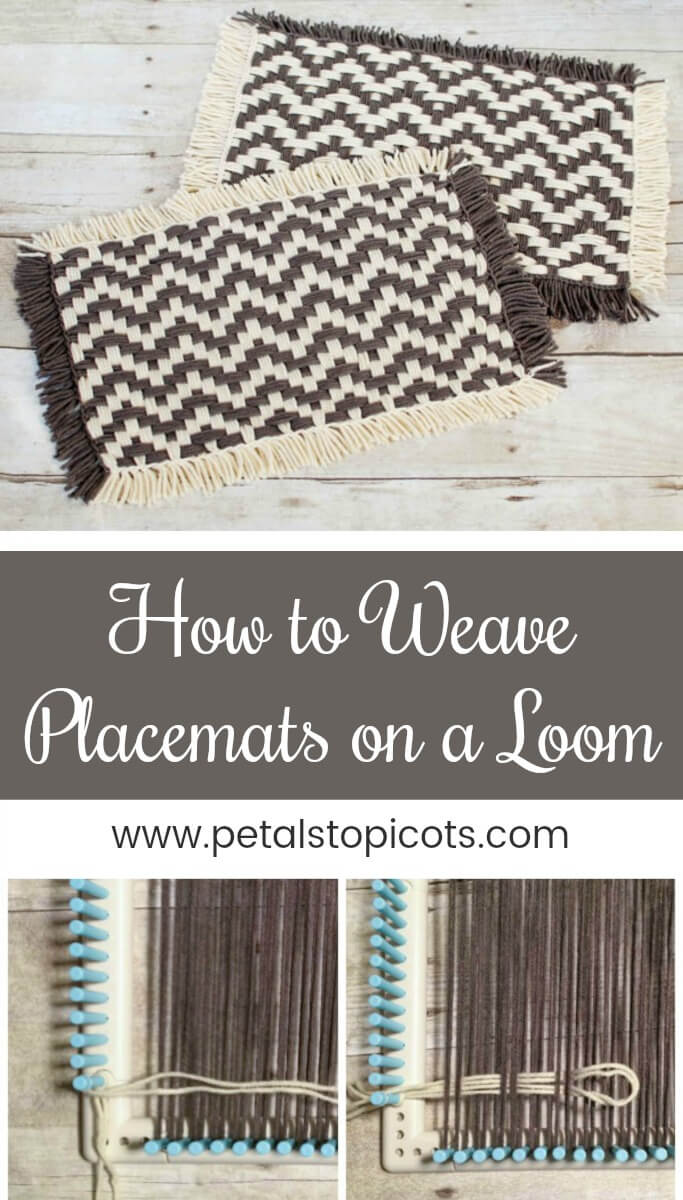
How to Weave Placemats on a Loom
Here is what you will need:
- 2 colors of Cotton Ease or other worsted weight cotton or cotton blend yarn, approx. 207 yd each (as shown here in Taupe #122 and Almond #099)
- knit and weave loom kit
- yarn needle and scissors
Finished placemats measure approximately 14 in. × 9½ in.
Setting Up Your Loom
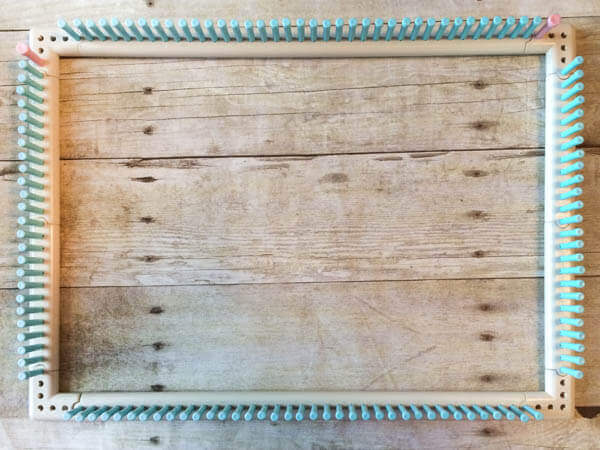
The first step is to set up your loom. For this project, you will need …
- (2) 36-hole straight pieces
- (4) 12-hole straight pieces
- (4) 6-hole corner pieces
- 126 pegs (I used 2 of a different color to indicate my beginning and end, although you don’t need to)
Set the pieces up and place the pegs as shown in the photo below. You will have 37+1 pegs across the top, 37 across the bottom, 25+1 on the left, and 25 on the right.

Setting Up the Warp
In weaving, the term warp is used for the yarn or thread that runs lengthwise or vertically on the loom.
For these placemats I used double strands of yarn. You can either pull ends from both the inside of your skein and outside of your skein to use at the same time or separate your skein into two balls of yarn.
Knot your yarn around the top right peg, bring it down and wrap it around the bottom right peg then back up and around the next top peg. Keeping yarn taut as you work, continue across loom until you reach the top left peg; knot yarn around top left peg and cut yarn.

Weaving the Weft
The term weft is used for the yarn that is woven horizontally through the warp.
Again, I used double strands of yarn as I did for the warp above. Knot your next color to the bottom left peg. The weft is woven over and under the warp strands to create a design. You can use the weaving tool or a crochet hook that comes with the kit if you wish; I found it easiest to just use my fingers. You can simply alternate going over and under each group of warp strands for a traditional weave pattern or follow the pattern shown here. Keep in mind that since we doubled up the yarn, each warp grouping consists of four strands of yarn.
To create this pattern …
Row 1: Pull yarn under 1 grouping (remember, 4 strands), *over 2, under 1, repeat from * across, place loop on corresponding peg on right.
Row 2: Starting around next peg, pull yarn under 2 groupings, over 3, *under 3, over 3, repeat from * across, pull yarn under last 2 groupings and place loop on corresponding peg on right.
Row 3: Starting around next peg, pull yarn over 1 grouping, *under 2, over 1, repeat from * across, place loop on corresponding peg on right.
Row 4: Starting around next peg, pull yarn over 2 groupings, under 3, *over 3, under 3, repeat from * across, pull yarn over last 2 groupings and place loop on corresponding peg on right.
Row 5: Pull yarn under 1 grouping, *over 2, under 1, repeat from * across, place loop on corresponding peg on right.
Repeat Rows 2 through 5 to the end and knot yarn around top left peg.


Finishing
To finish the placemats off with a fringe edge, I first stitched around the mat to secure the pattern. Cut a length of matching yarn about 18 in. long and knot it around two strands from your first grouping. With a yarn needle, weave yarn under next two strands but before pulling all the way through insert needle through the loop that is created (kind of like a blanket stitch), pull gently to secure, repeat with next two strands and across. Knot yarn around last two strands and cut. Repeat around next three sides.

Once you’ve stitched around your placemat, cut the yarn from the loom at each peg and trim fringe evenly.


I enjoyed your pattern. My question for you is, have you found any of the holes for the pegs don’t fit the pegs. I have on one of the corners a peg won’t fit. Don’t know what to do or who to contact as there is no info in the booklet.
I love these mats and would love to make them. In the instructions you have how to set up your loom. Can you tell me where I can purchase the loom you used? I have tried searching but keep coming up with other ones but what you have pictured.
Hi Wendy 🙂 Yes, here is the kit I used … http://www.amazon.com/gp/product/B004W8W2V6/ref=as_li_tl?ie=UTF8&camp=1789&creative=390957&creativeASIN=B004W8W2V6&linkCode=as2&tag=petatopico-20&linkId=64SQ2G4HIGE6MURM
How many skeins of yarn did you use to make the placemats?
I want to make 4 but not for sure how many skeins of yarn to get.
I forgot to ask another question.
I am more of a visual person. Could you do a video on how to make the placemat from start to finish?
Thank you
Where did you buy the yarn?
Can these placemats be washed?
How do you put an edge on it without the fringe?
Love the woven placement. Good pattern to use my Martha Stewart loom.
You answered my other question on FB, but I do have one more. When starting to weave this it seems like the pattern is not matching the picture. The only thing that looks like it makes sense to me is to NOT repeat rows 1-5 to the end, but after first completing rows 1-5 instead, repeat rows 2-5 until the end. Rows one and five are exactly the same and looking at the picture it doesn’t look as if there are any repeating rows. It’s late here and I could be missing something very obvious because I am tired, so please let me know what I am doing wrong. Thanks so much.
Yes, you are correct! It should be to repeat rows 2 through 5. I will update it in the pattern. Thanks so much for the catch!
No problem!
Are these placemats sturdy enough to be washed?
They came out great! Could you tell me where did you get those beautiful sheers? Thanks
I found them on Etsy and love them!