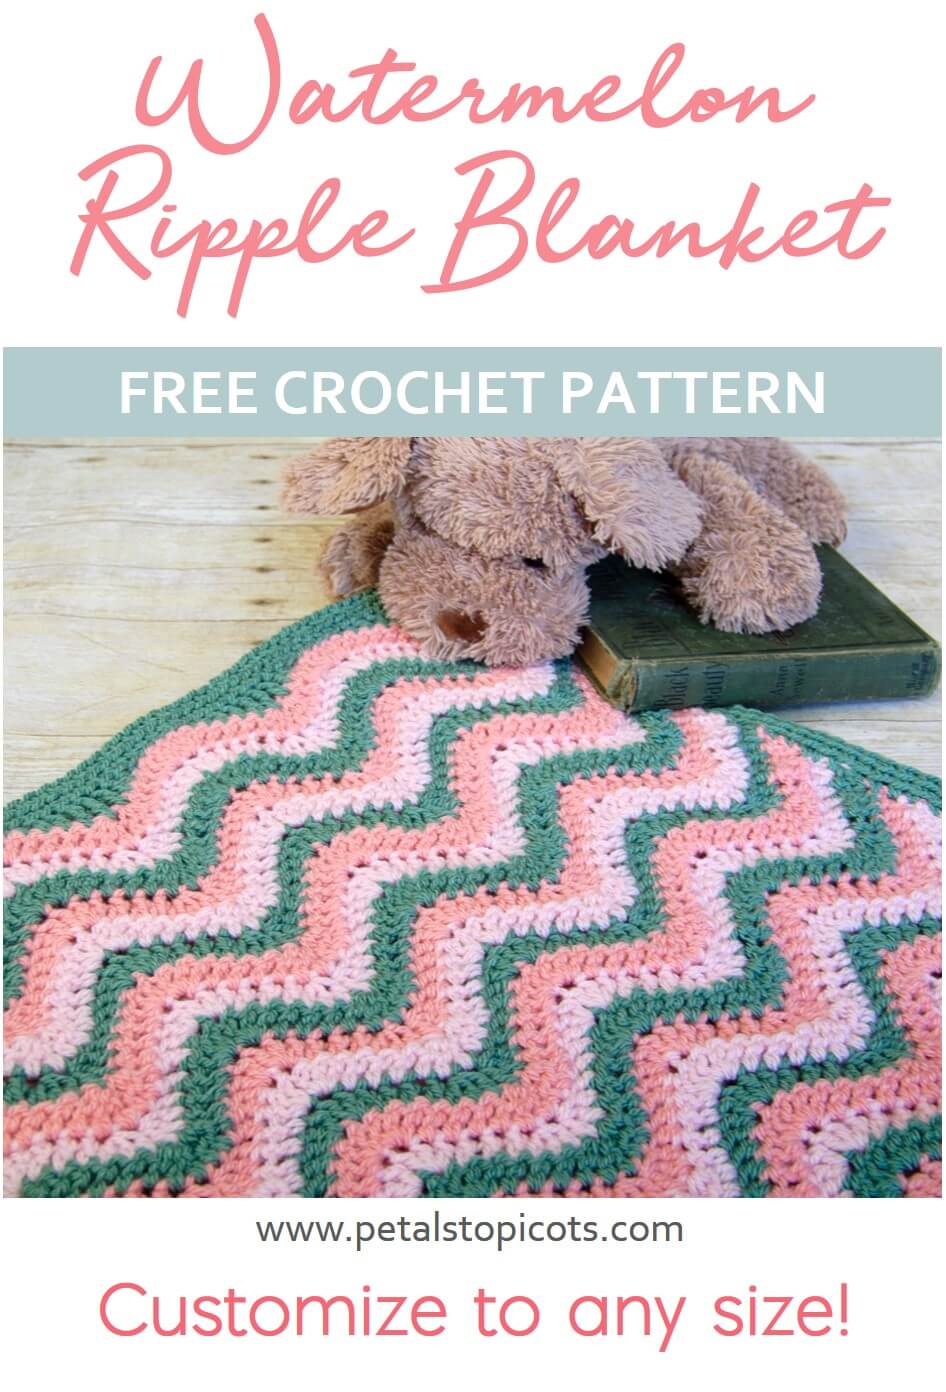
This crochet ripple stitch pattern just begs for colors! Worked in basic crochet stitches, it’s an easy and repetitive pattern that is enjoyable to stitch. I especially love it for baby blankets and afghans, like this sweet Watermelon Ripple Pattern I am sharing today. I also included directions to customize the size to any width and length desired.
Watermelon Crochet Ripple Baby Blanket
This sweet baby blanket is worked in double crochet ripples with three colors that are carried up the side … yay for no tails to weave in!! I also added a unique border which transforms the ripple ends into a straight edge … perfect for tucking under baby’s chin.
Pair it with a crochet baby hat or lovey for a great gift!
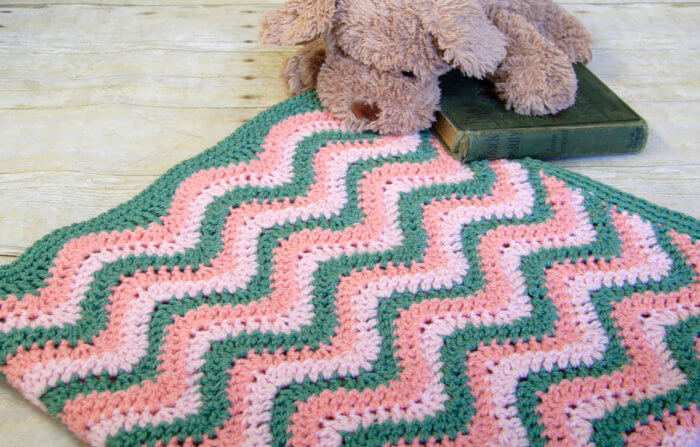
Here is what you will need:
- 3 colors heavy worsted or aran weight yarn, approx. 402 yd each (Shown here in Paintbox Simply Aran in the following colorways: CA = Candyfloss Pink #249; CB = Blush Pink #253; and CC = Slate Green #226)
- US H-8 / 5 mm crochet hook
- yarn needle and scissors for finishing
This free pattern is written in U.S. crochet terms and abbreviations. Stitch counts are provided at the end of each round to help you keep on track.
Resources and tutorials you may find helpful in following this pattern: Crochet Abbreviations, U.S. to U.K. Crochet Conversion Chart.
- The size of the blanket can be easily customized to any width by changing the length of the beginning chain. For this ripple crochet pattern, chain a multiple of 14 + 3 stitches.
- To customize the length, repeat pattern
- Do not fasten off at the end of each row; carry colors along sides of blanket.
Finished blanket as written measures approximately 35 in. x 37 in. (see notes about customizing size). Find additional baby blanket patterns and sizes here.
Add this pattern to your Ravelry library.
With CA, chain 115.
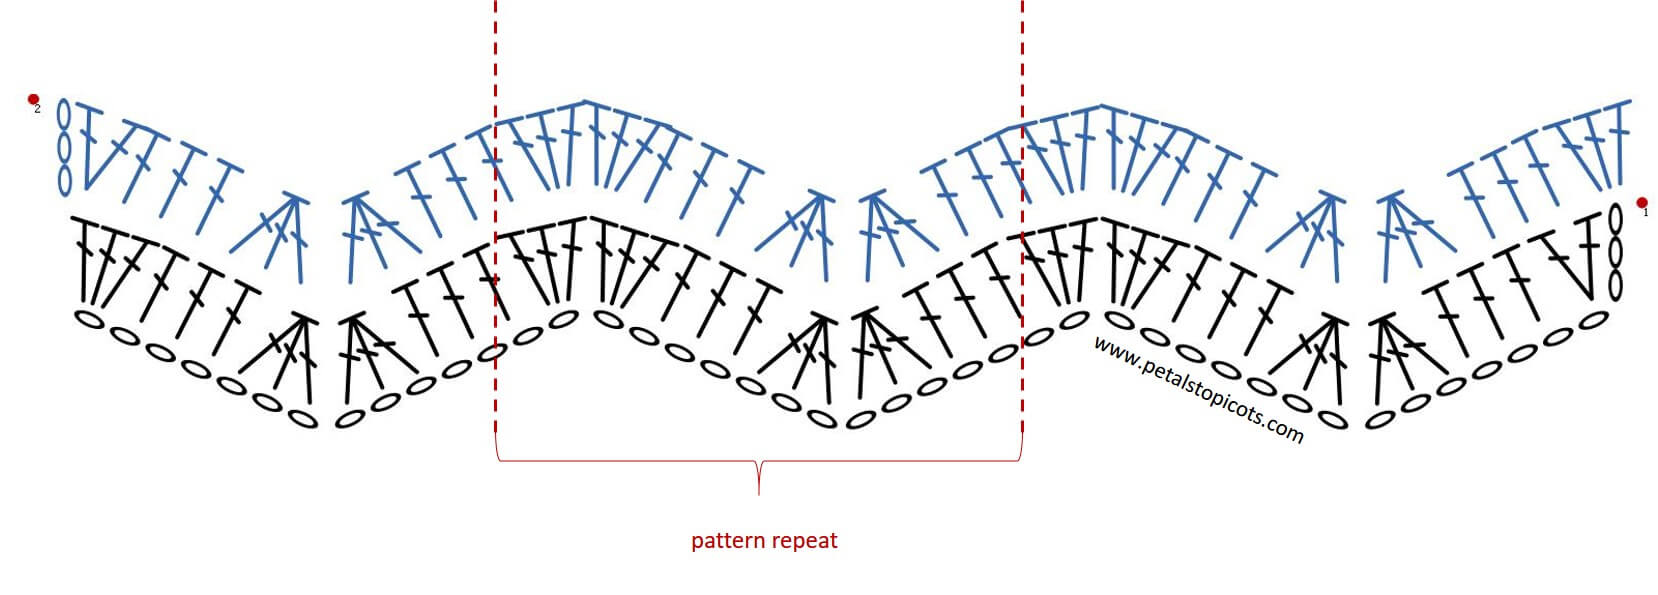
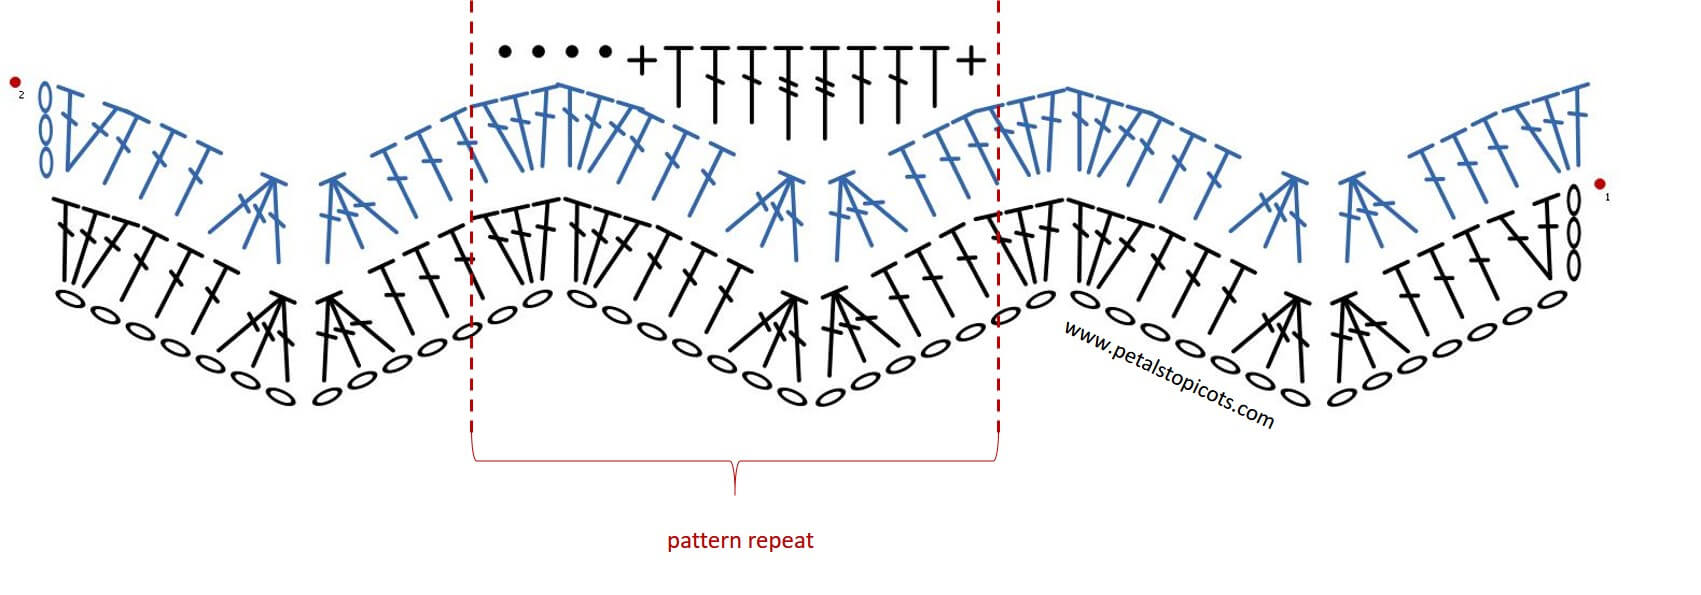
Row 1: Work 2 dc in 4th ch from hook (skipped chains count as st), *1 dc in each of the next 3 ch, [3dctog over next 3 chains] twice, 1 dc in each of the next 3 ch**, 3 dc in each of the next 2 ch, rep from * across, ending last repeat at **, work 3 dc in last ch, turn and drop CA — 112 sts.
Row 2: Join CB, chain 3 (counts as st), work 2 dc in first st (the st at base of chain 3), *1 dc in each of the next 3 sts, [3dctog over next 3 sts] twice, 1 dc in each of the next 3 sts**, 3 dc in each of the next 2 sts, rep from * across, ending last repeat at **, work 3 dc in last st (the turning ch from previous row), turn and drop CB — 112 sts.
Row 3: Join CC, chain 3 (counts as st), work 2 dc in first st (the st at base of chain 3), *1 dc in each of the next 3 sts, [3dctog over next 3 sts] twice, 1 dc in each of the next 3 sts**, 3 dc in each of the next 2 sts, rep from * across, ending last repeat at **, work 3 dc in last st (the turning ch from previous row), turn and drop CC — 112 sts.
Rows 4 through 44, or until desired length is reached: Repeat Row 3, alternating colors for every row and ending on a CB row.
Fasten off colors A and B only and continue to Edging.
Basic Ripple CROCHET Pattern
Click here to reference Crochet Stitch Chart Symbols.
Straight Ripple Edging
If you love the look of ripples but prefer a straight ends, this edging is for you! It transforms the ripples edges into a straight even edge.
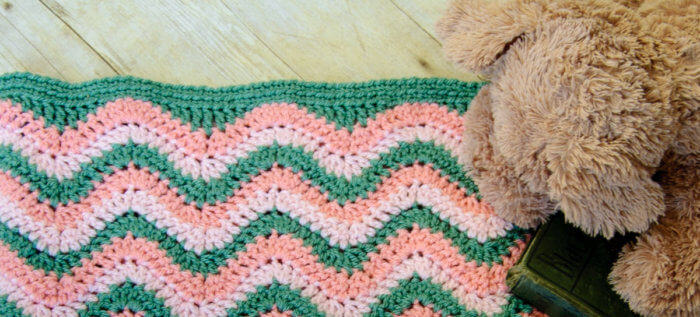
Pick up CC.
Round 1: Working across last row, work a Sl st into each of the next 2 sts, *1 sc in next st, 1 hdc in next st, 1 dc in each of the next 2 sts, 1 tr in each of the next 2 sts, 1 dc in each of the next 2 sts, 1 hdc in next st, 1 sc in next st, **Sl st into each of the next 4 sts, repeat from * across ending last repeat at **, Sl st into each of the last 2 sts.
Rotate piece and sc evenly along side edge of blanket (2 sc per row).
At next end, ch 4 (does not count as st), *work 1 tr in first st, 1 dc in each of the next 2 sts, 1 tr in each of the next 2 sts, 1 dc in each of the next 2 sts, 1 hdc in next st, 1 sc in next st, Sl st into each of the next 4 sts, 1 sc in next st, 1 hdc in next st, 1 dc in each of the next 2 sts, 1 tr in next st, rep from * across, ch 4 and Sl st into base of last st.
Rotate piece and sc evenly along side edge of blanket (2 sc per row). Join in first st of round.
Round 2: Ch 1, working in back loops only throughout round, work *3 sc in corner st, work 1 sc in each st across, repeat from * around.
Round 3: Repeat Round 2.
Fasten off, weave in ends. Block if desired.
you may Also enjoy …
Click here for more free crochet afghan patterns.


Help! I need to finish this blanket today. I’m doing the border and did the first part and side edge of row 1 fine. But the bottom part of row 1 has me lost.
I love this pattern but I just can’t get past Row 1. The stitches don’t line up. I don’t know if I’m reading pattern correctly. Are there supposed to be missed stitches between the 3 dc into next 2 stitches? I would really appreciate your help and maybe a video tutorial.