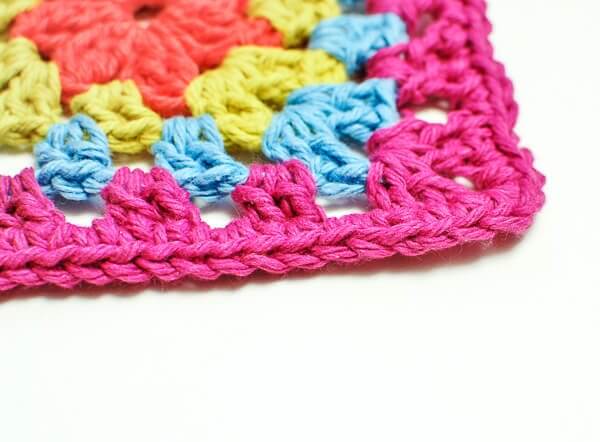
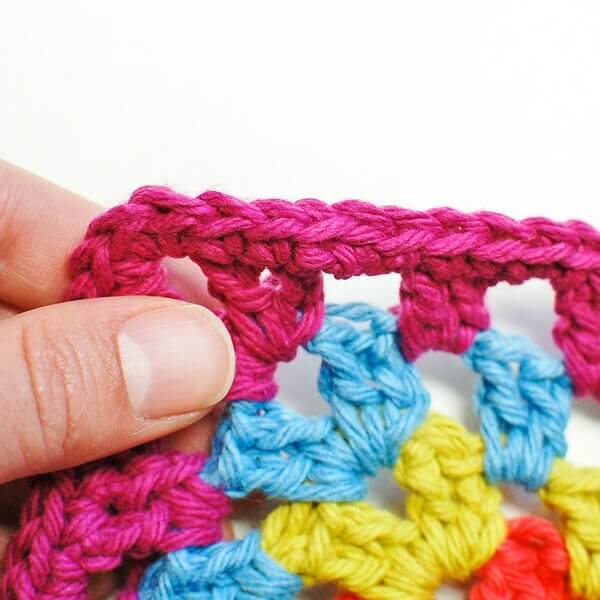
The invisible join and fasten off in crochet is by far my favorite crochet trick and one of the tricks I featured in my Fab Four Crochet Techniques That Will Bring Your Craft to the Next Level here. When you fasten off the usual way, the point at with you joined and fastened off is often very obvious. But not with the invisible join and fasten off … it looks just like a stitch, so it’s virtually impossible to tell where the final join and fasten off was made!
Can you tell where the join is in this photo?

- After the last stitch of the round is completed, do not join; instead, cut the yarn and pull the tail all the way through the stitch (a).
- Next, thread the tail through a tapestry needle and insert the needle under the loops of the first stitch of the round (b). Pull yarn through gently.
- Then, insert your needle into the center of the last stitch of the round (c). Pull yarn through gently and weave in ends as usual.


Foundation stitches – Starting a project without making a beginning chain.
Seamless Color Changes – Neatly change colors mid-row.
Magic Ring – A must-have technique when working in the round.
Hat Size Chart – take the guesswork out of hat sizing with this handy download of hat measurements and templates.
You can find more helpful crochet tutorials and tricks on my Tutorials Page here.


Awesome and so simple! Thank you for sharing. My projects will look more professional now as I sell at bazaars.
No need for tapestry needle. You can use your hook to accomplish the same steps.
I’m so happy you put that extra tip in there about joining in the second stitch. I didn’t think we could do that and I always join in the first. The extra stitch messes me up when I’m joining my squares. What a simple solution, thank you
I already use the stainless foundation, but really needed to see the color techniques. I was very impressed with the invisible finish…..very kewl…
Thanks for the awesome tip.. Very useful and smart 🙂
Glad you found it helpful, Ani!
Merci pour cette astuce …
Biz
Great tip, Kara! And another great pictures with beautiful pictures. Thank you for sharing at Hookin On Hump Day!
Love this tip! Certainly useful and I’ll be using it in the coming months 🙂
Thanks ! Great tip !
That’s a very neat join.
Awesome tip! Thanks for sharing!
Just make sure to go back and forth once or twice or more, when weaving in.
This makes it come together perfectly. Thank u soo much for sharing.
That’s awesome!! I’m totally going to use it on my next project! Thanks for sharing it.:)
Has anyone tried this and then used or washed the item over a little time? Does the invisible join hold securely? It seems like it wouldn’t hold as well as other methods of fastening off.
I have washed my items and the join holds securely. You still need to weave in your ends as you would with a traditional join. How securely ends are woven is the key point for any join. Hope that helps 🙂
Love this tip! I’ve been crocheting for 38 yrs. and this is new to me. 😀
I am going to try this! New follower.
LOVE this tip!!! Thanks for sharing.
Yeah! Thanks for the great tip! I will try it today! 🙂
Great tip!!
It looks great! I will try it on my current project right away.